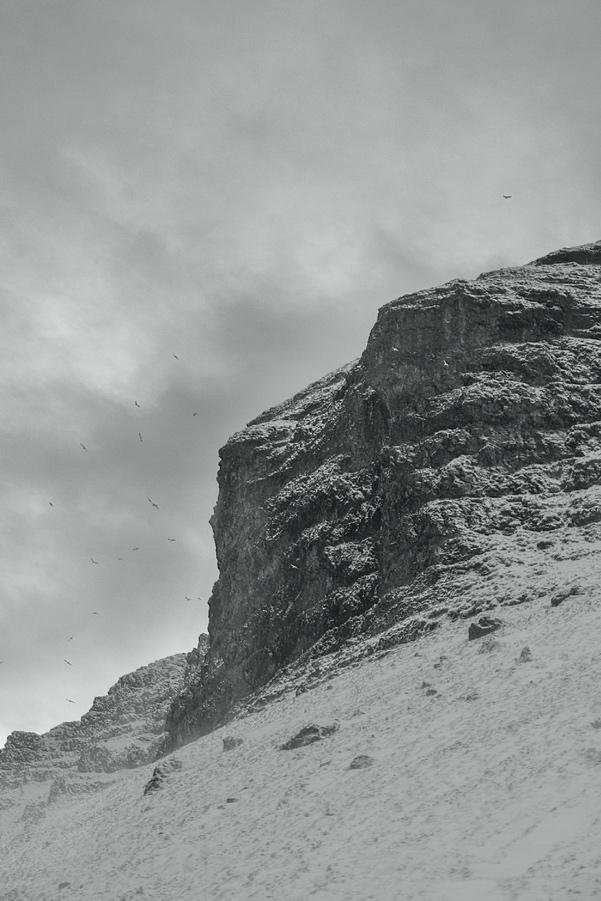
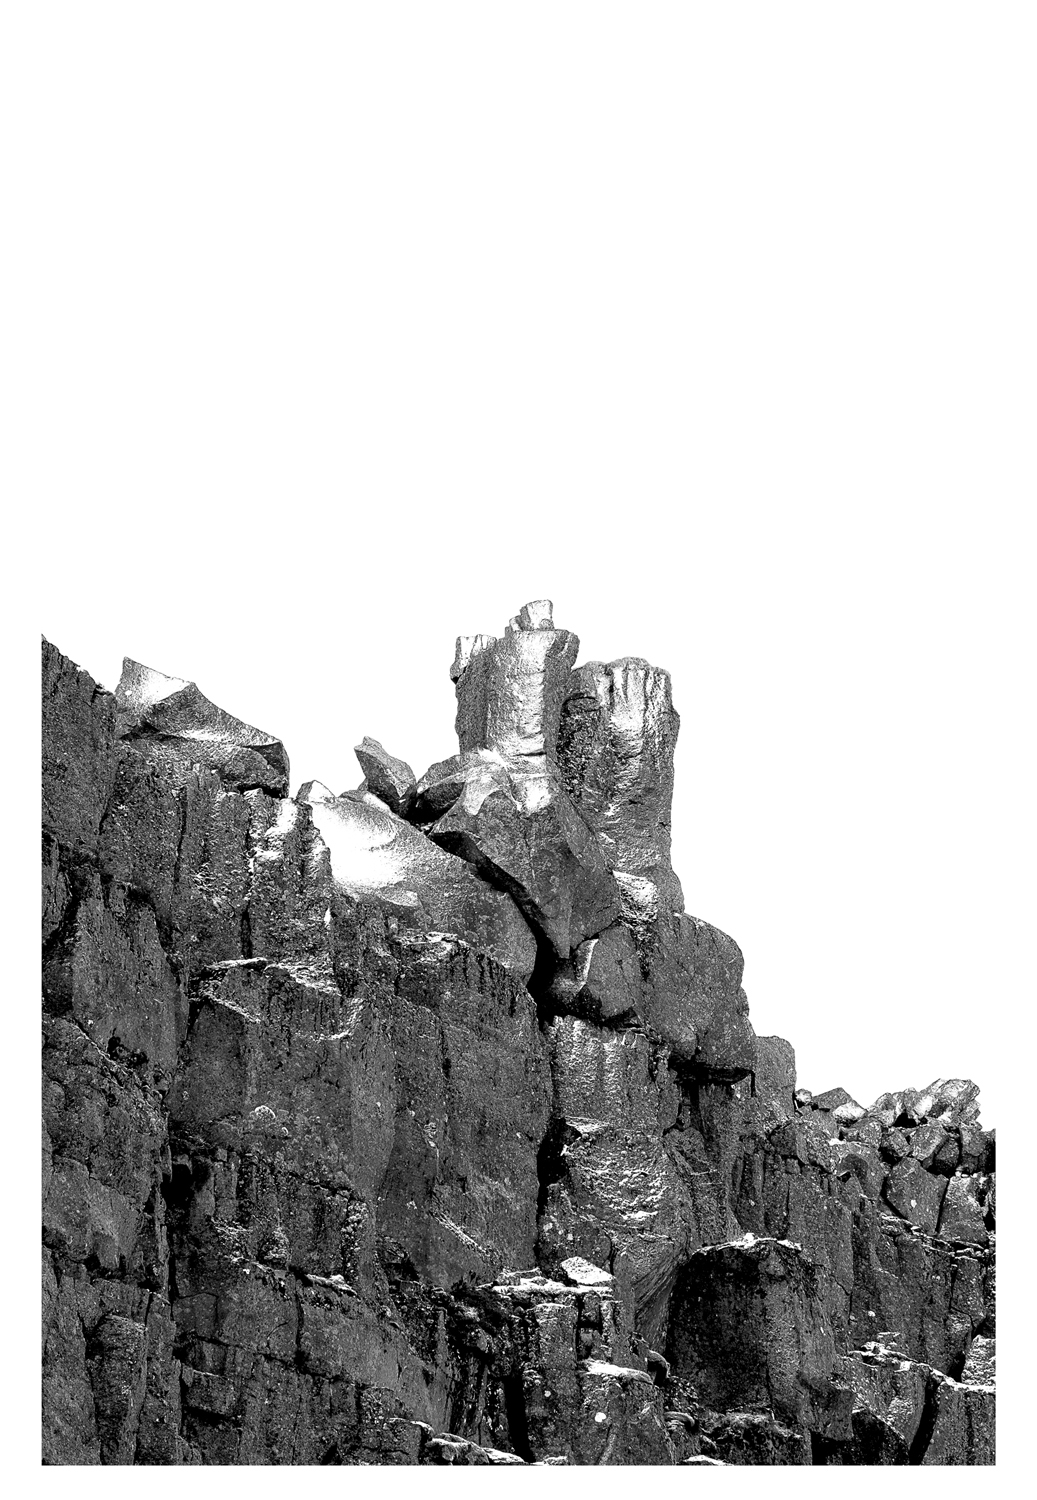
Seeing Iceland in monochrome
As Fujifilm X shooters we are spoilt for choice when it comes to colour. We have the amazing and universal Astia and Provia simulations for a range of subjects and situations, Velvia for slide-film-like pop of vibrance and saturation, the Classic Chrome with its muted tones, Eterna for all the cine fans out there and of course the Classic Negative, the new and beloved simulation which so many are already adapting to their workflow.
We have so much to choose from in the colour department that sometimes, especially for the new adopters of the system, the decision can be somewhat tricky. Me, I stick to seeing scenes in Monochrome, whether in portrait or landscape, and by far my favourite and most used is Acros+G (, with the green filter added).
Looking back at my work from the DSLR and optical viewfinder days, I find myself picking on imperfections in composition. Partly because years have gone past and the way we all shoot improves as we go along but this also happens due to what equipment, feature and technique we adapt. Ever since I started shooting on the Fujifilm X system, with its ever-evolving electronic viewfinder, I’ve found myself composing and embracing the lack of colour distraction offered by the in-picture black and white simulations.
Suddenly I started seeing in shapes, forms, lines, edges and inevitably this improved my composition and output. It’s an interesting exercise in manner and method and I found it extremely interesting coming back to my previous work and self-criticising my photography.
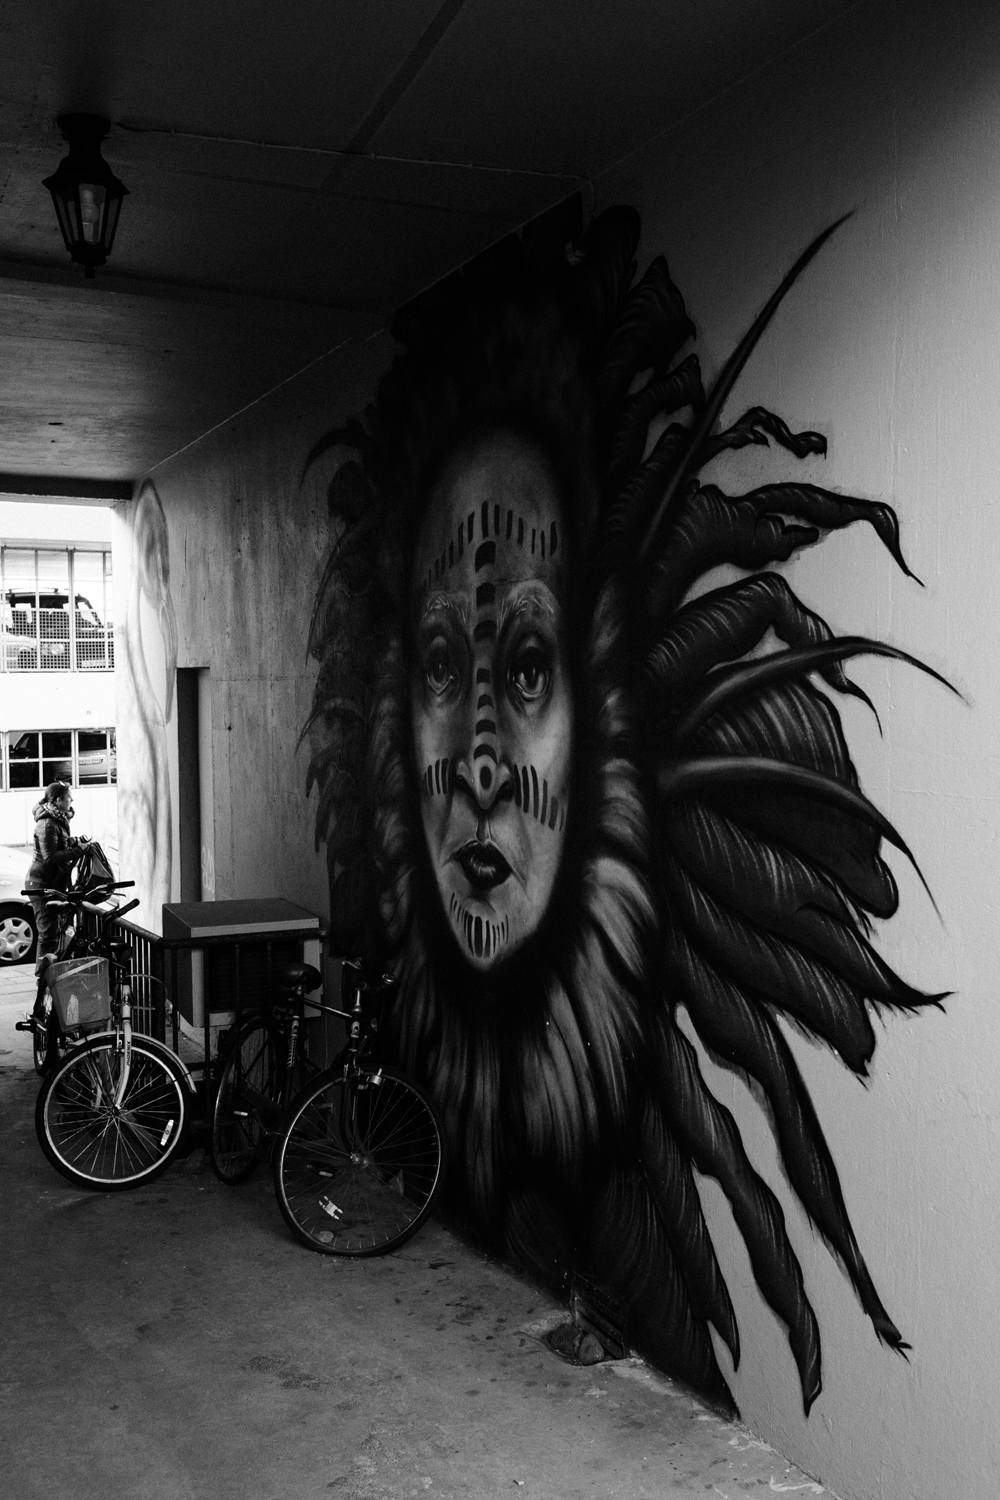
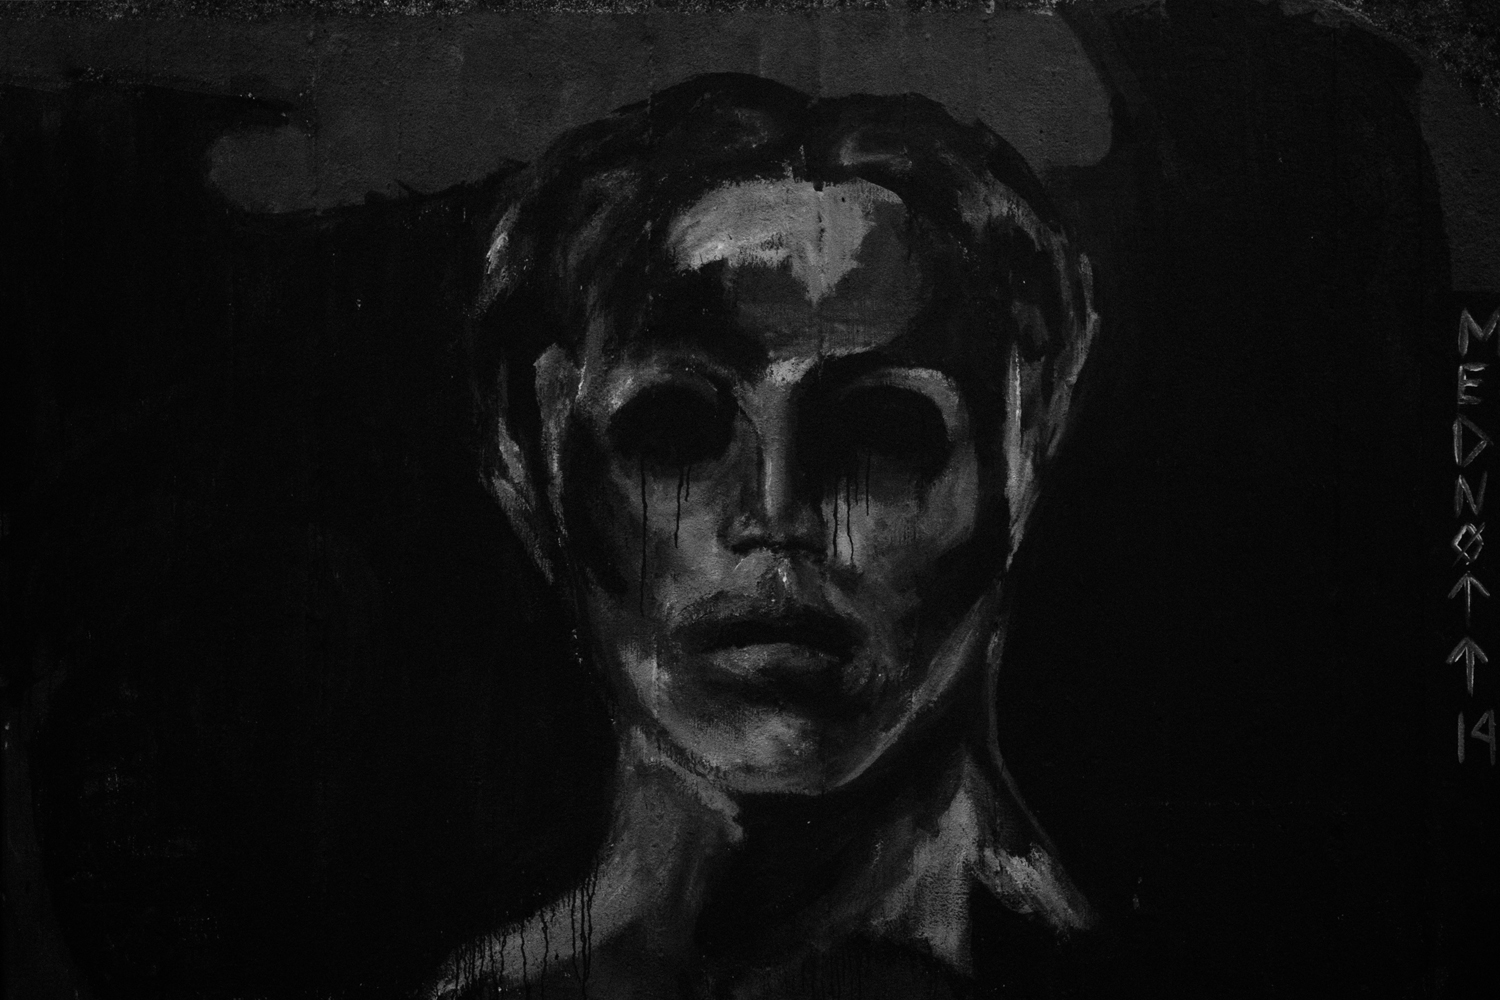
On location in Iceland
Iceland would not be a place I have travelled to twice now without two of my friends who deserve a mention, Pippa and Stuart, fellow Photography teacher and a passionate enthusiast, prolific landscape and astrophotographer respectively. It is them I owe experiencing this both hostile and beautiful land to, where you’re met with challenges both photographically and elementally.
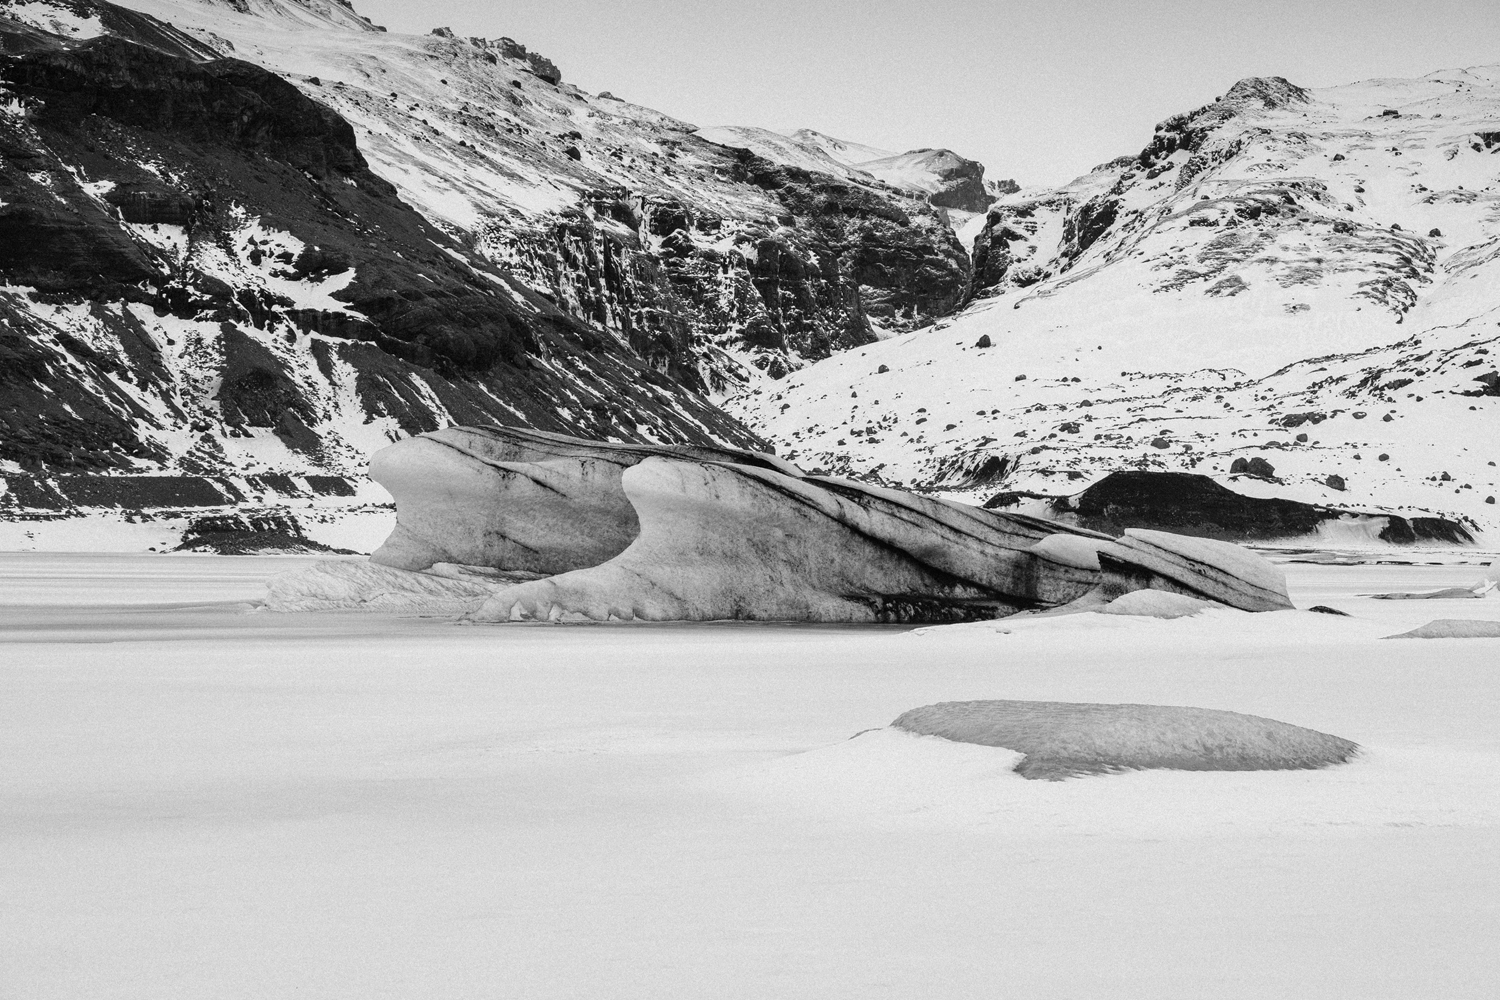
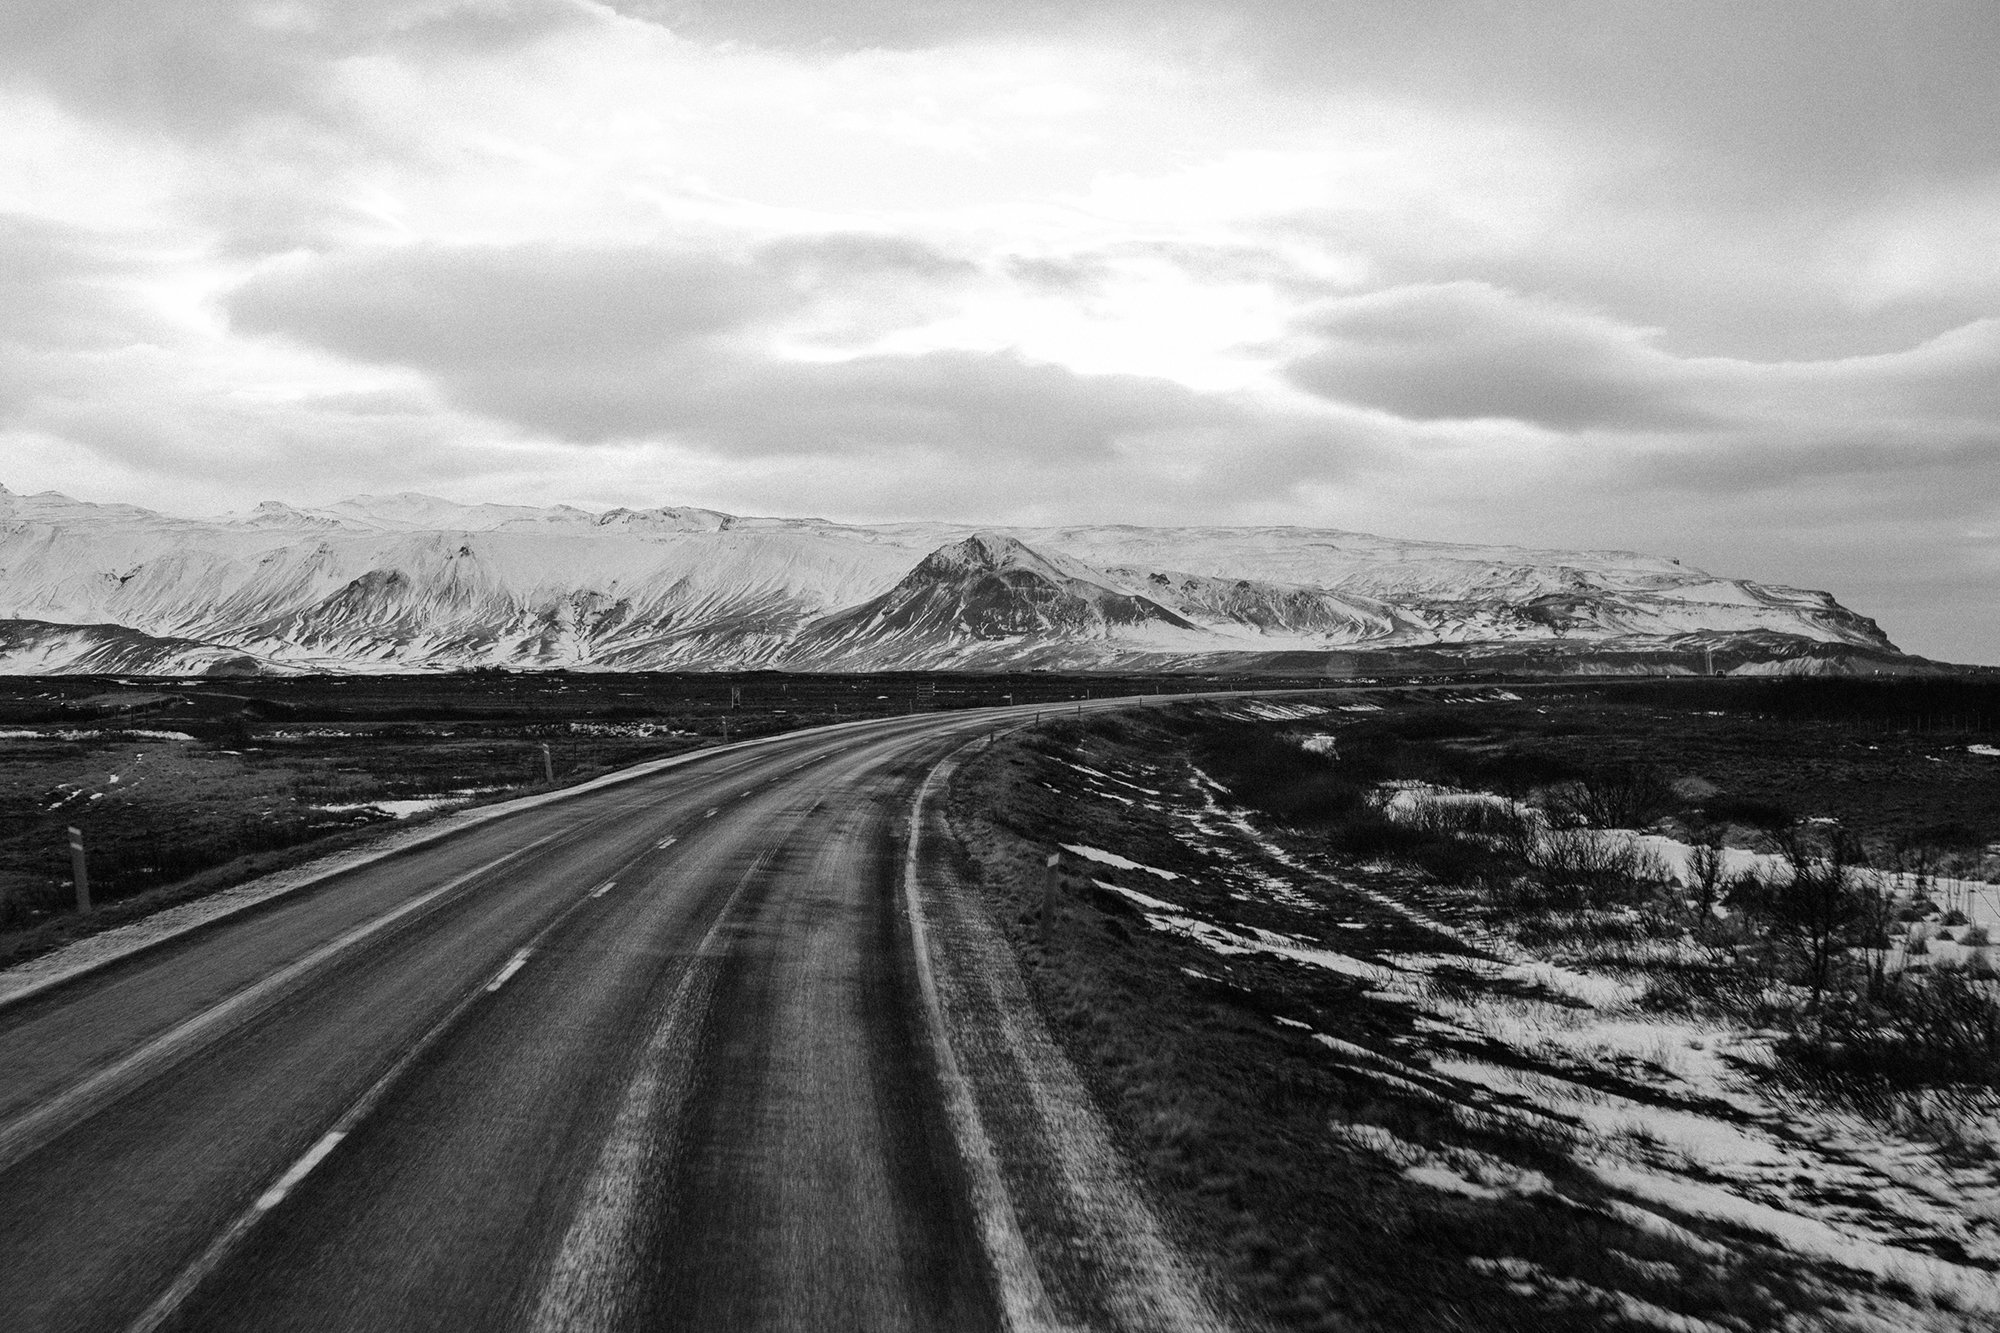
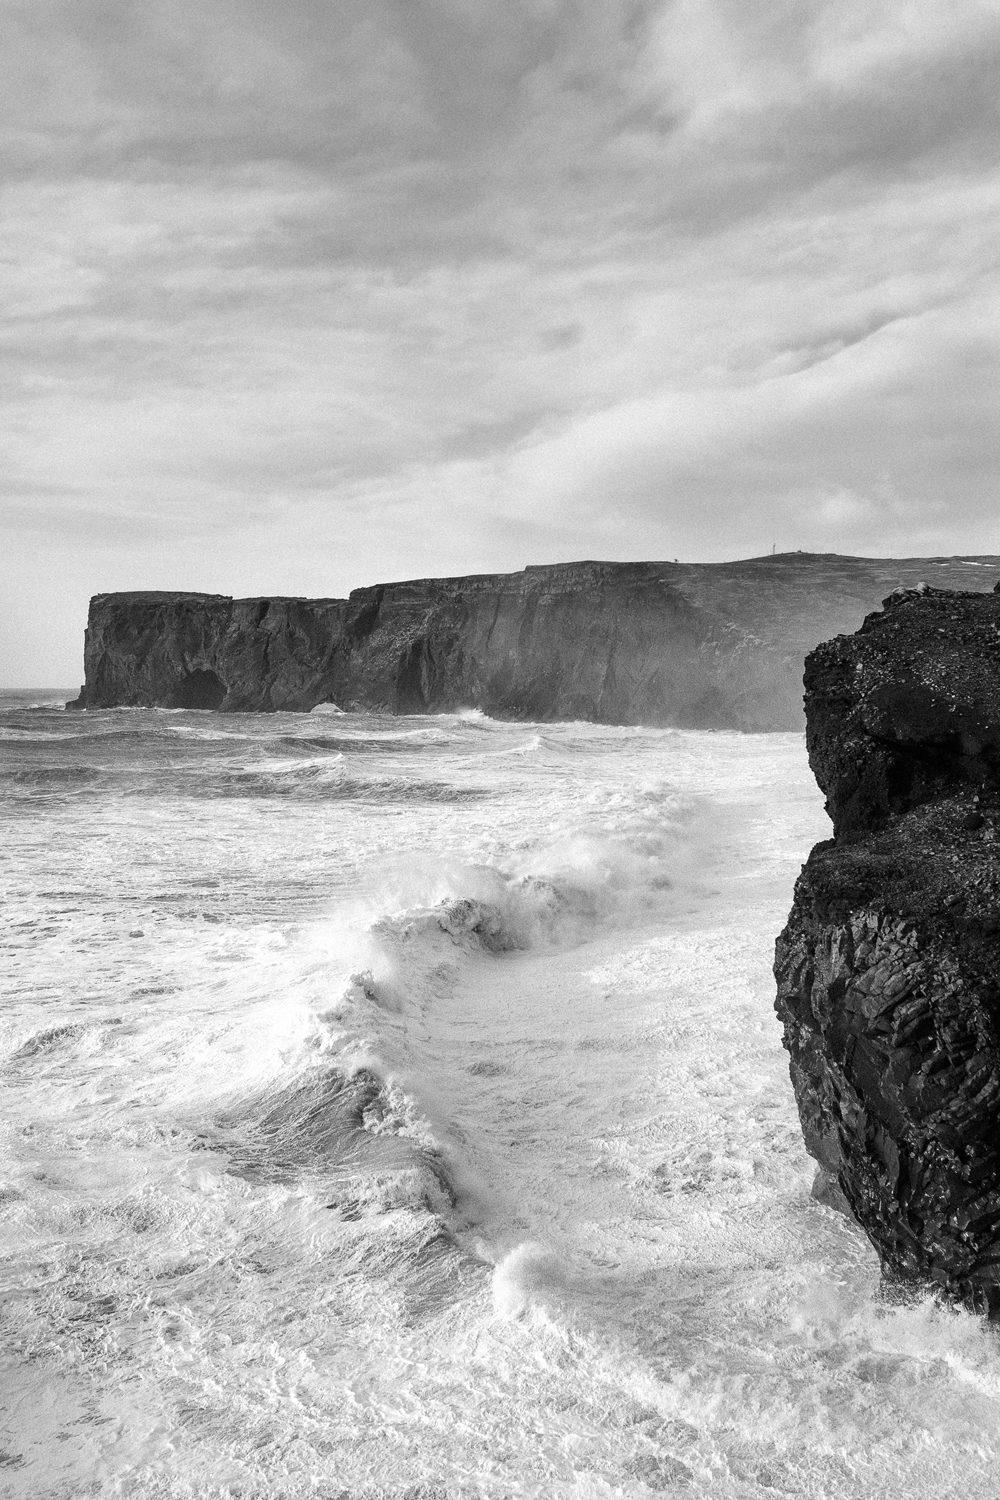
Many, including myself, come back from Iceland with a plethora of choice whether to output their work in monochrome or colour and I think there’s strong argument for both. However, I believe it’s monochrome that suits locations I’ve visited more for both their harshness and hidden beauty, which again we’re so easy to be distracted by introducing colour in the output. Black and white is Yin Yang in Iceland and you can’t help but noticing it more as you discover it.
Black volcanic rock and sands set against white ice and snow, the dark cliffs with their rugged and harsh nature opposite constantly smashing and powerful white waves of unruly North Atlantic waters. It is truly a place where beauty and danger work in tandem. It is where you find yourself lucky wherever you come from as Iceland landscape will both tire as well as enrich you with its unforgettable experience.
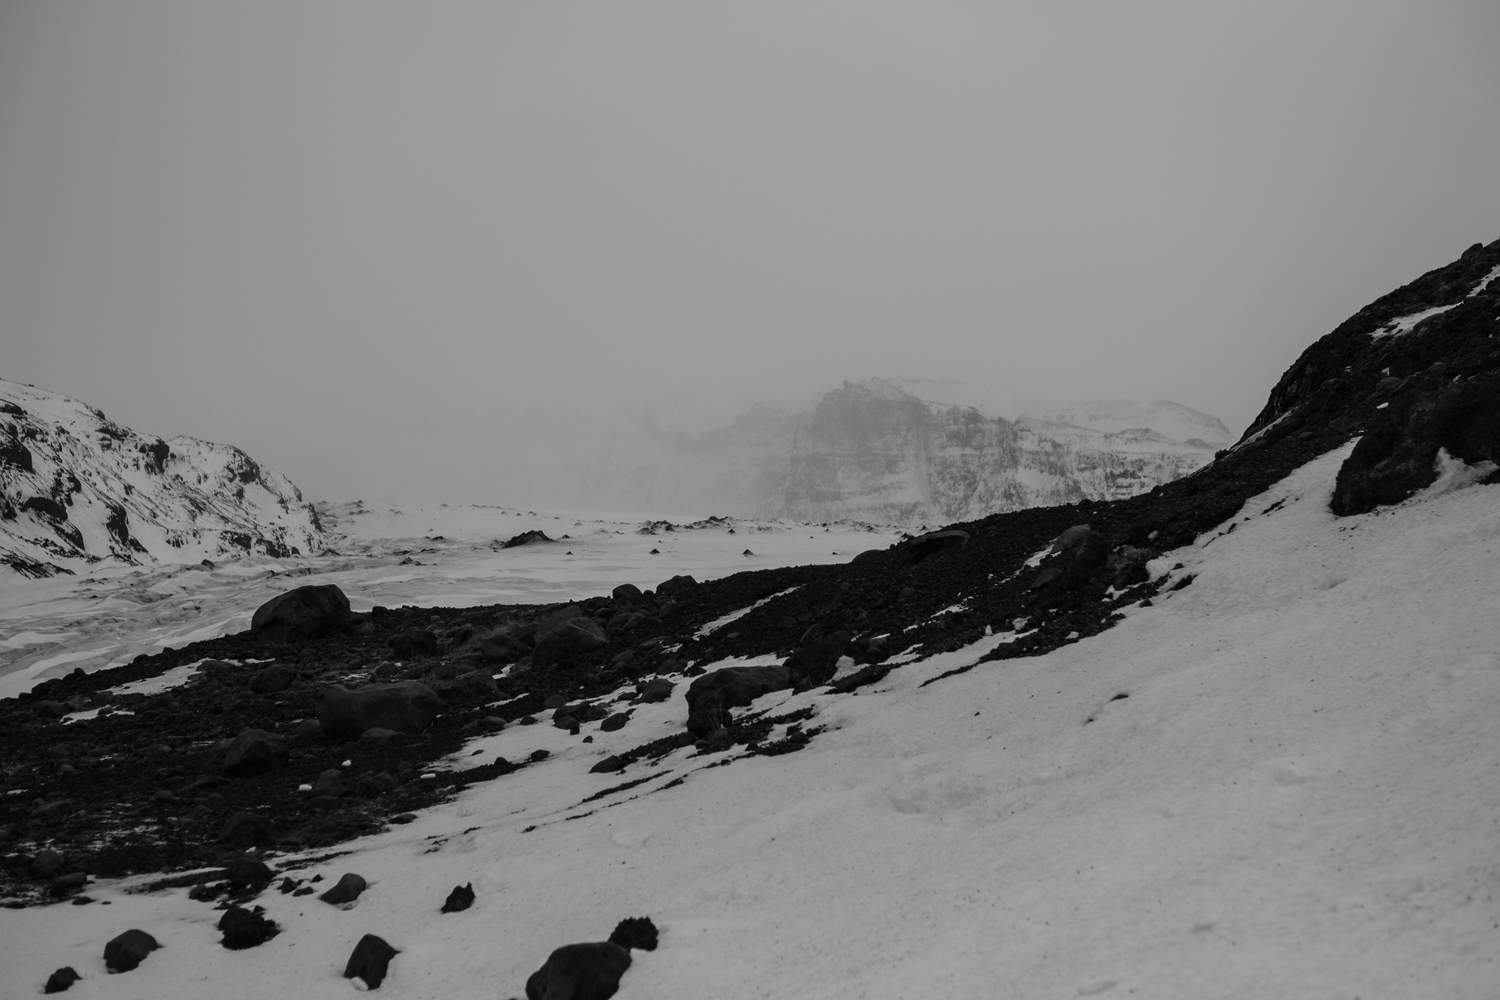
From a technical point of view, I’ve decided to approach the locations with certain limitation. Previously, in 2018 I shot it with my favourite all-time lens, the 23mm f1.4 version which produces excellent micro-contrast, sharpness and amazing bokeh when you need it. I love this lens for environmental portraiture (, as my professional work focuses around that subject area,) and when limited by the focal length, I simply shoot a set of portrait photos and then stitch them into panoramas to represent the vast landscape I would have otherwise not been able to capture.
So far, I have not encountered a single issue with the lens. Even the fact that it isn’t weather sealed. I simply protected the gear a lot when struck by the Icelandic winds and rain. This year I’ve decided to limit myself further and shot with 50mm f2 version which IS weather-sealed and paired with my X-Pro2 I have felt worry-free. The system yet again delivered far and beyond expectations and further supported my strong feeling of the right decision in picking the correct “weapon of choice”. Coming back to the lens choice, some might say the 50mm f2 is too tight.
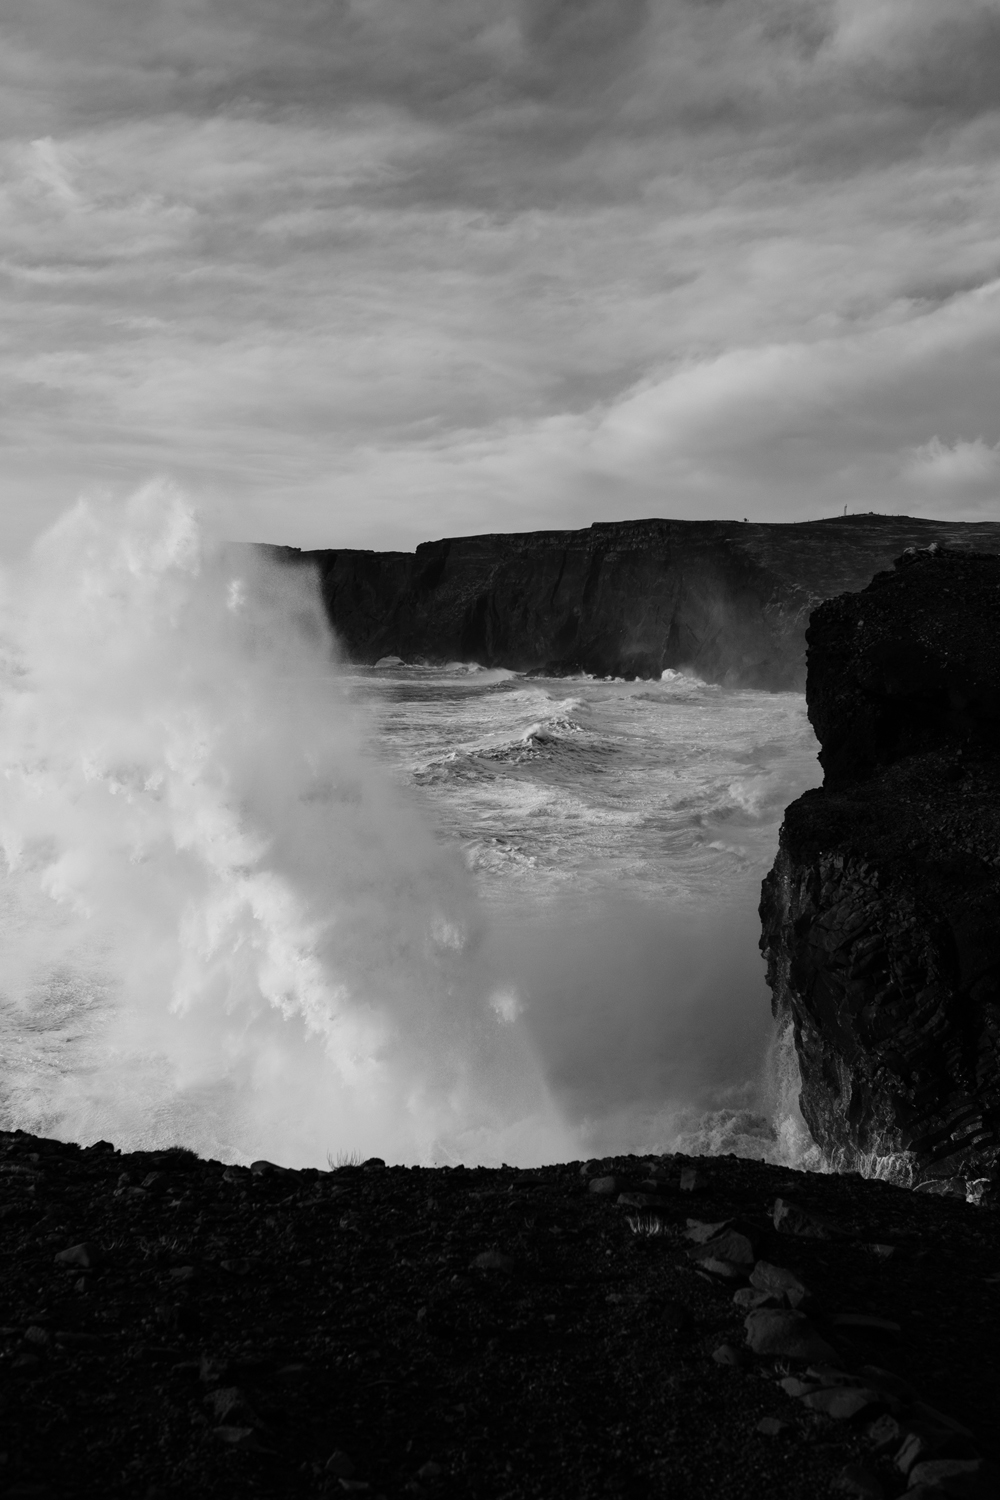
It is, in fact, a dedicated portrait lens for the system, and I agree. It isn’t very easy to shoot with unless certain things are realised. First, it’s the sweet spot for landscape photography, which I find to be at f5.6 as beyond that some diffraction might appear, however you’d need to seriously pixel peep for this. Second, distance. You won’t be able to show the area as you could with the amazing 10-24mm or 16mm lens, but these are brilliant for implementing foreground into the subject matter and I’m yet to discover and exercise more with that element of composition. And third, location.
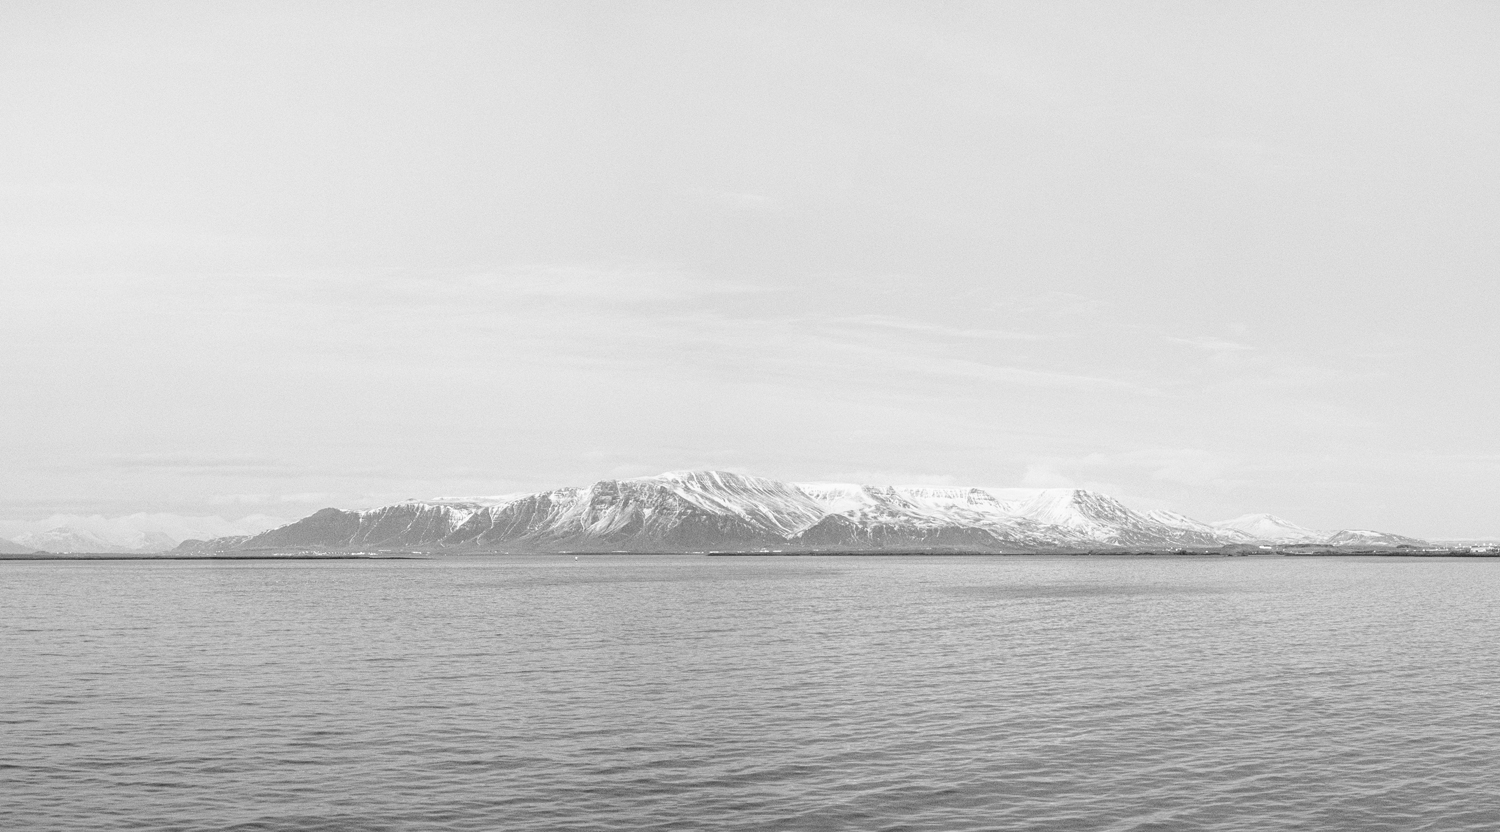
Iceland is a vast place and sometimes you are not able to come close to that waterfall, cave, wave or glacier formation therefore you need a lens which will bring you closer but still give context to where you are. I found this lens perfect for that though granted, it would not be everyone’s approach and choice and I can understand why. I love however how the recent trend of gear and approach tends to be “creativity through limitation” and this was my direction in Iceland this year.
Editing Fuji RAF files for black and white
As I mentioned earlier, my preferred shooting mode is in EVF with the Acros+G filter setting. I typically see the frames with additional adjustments of Shadows+2 and Highlights+1, 100% dynamic range, auto white balance and Auto ISO maxed out at 3200 set to min shutter speed of 1/200. This is done for two reasons: first, it gives me the idea of what the final image may look like, minus some adjustments for highlights and shadows, and two, removes all the colour distractions I mentioned at the beginning.
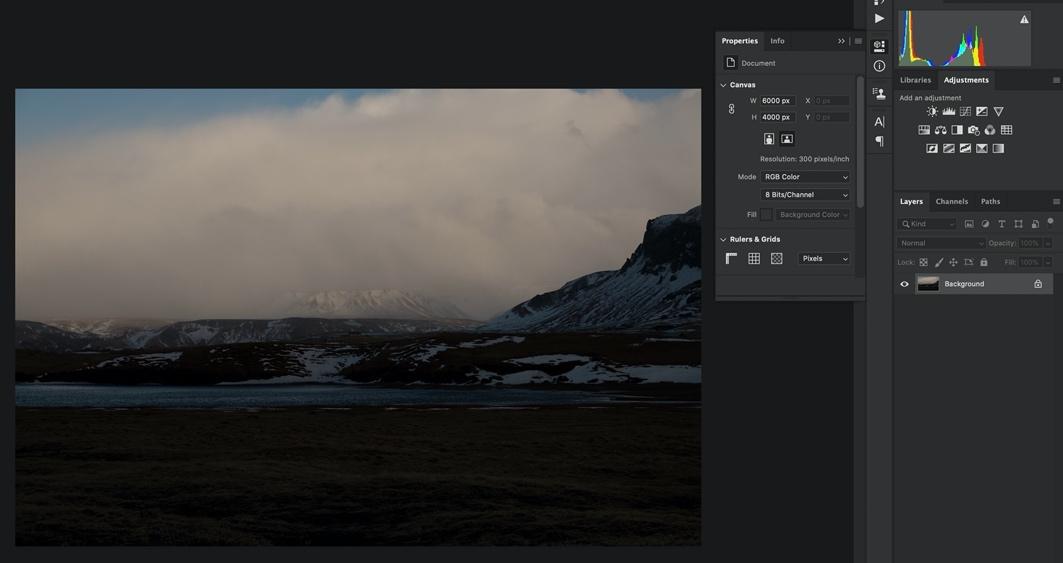
Let’s have a look at the image below, which as a RAF file already presented quite an opportunity for a dramatic and enthusing scene. The only adjustment made in-camera raw at opening the file has been “auto white balance” changed from “as shot”. This made the image a bit warmer which I intend to use and/or modify later should I not like the tonal effect. Normally, I do therefore I’ll stick with it for now.
RAF file opened with Auto white balance.
As you can see this edit is performed in Photoshop. As my rule of thumb I always start with duplicating the background layer – shortcut “ctr/cmd J”. By this I ensure my background layer is untouched and therefore acts as my safety net. There are different ways of ensuring this, one being working with smart objects, but here I’m going with my tried and tested method.
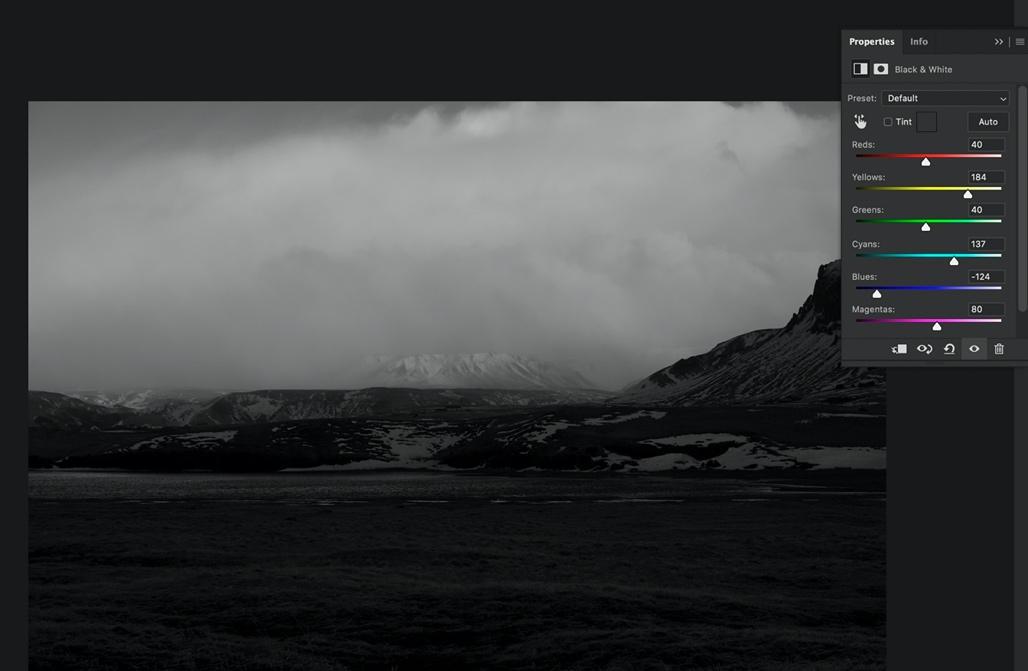
My next step is to convert the image to black and white. There are, again, many methods of doing so though in order to have the ability to play with the colour channels and adjusting their range I went with “image-adjustments-black and white”. I then modify the channels in order to get to the desired tonal range of the sky. At this stage, I am not worried yet about the shadows and overall exposure of the whole scene.
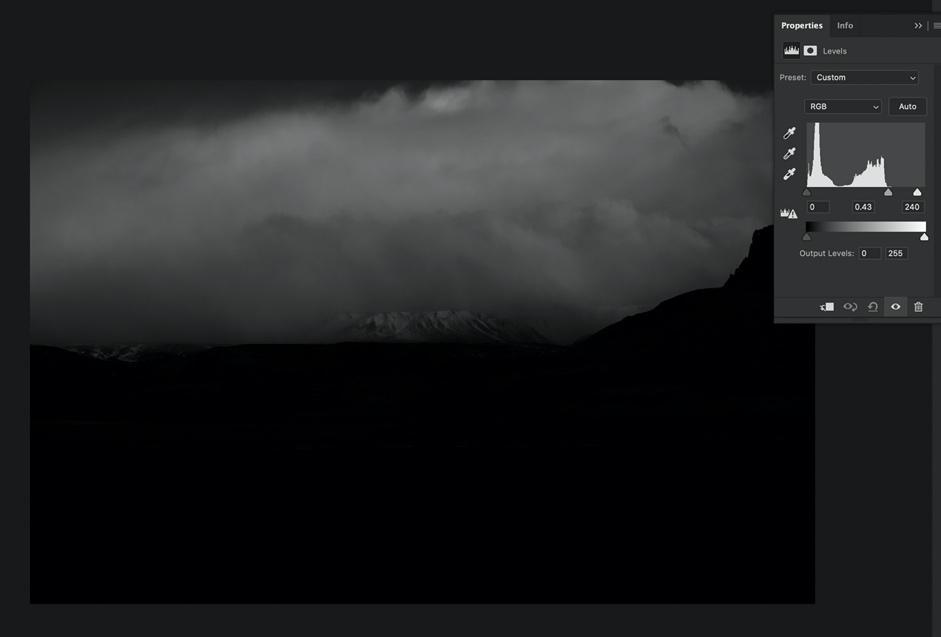
Next, levels. This is one of my favourite and one of the most used adjustments in my monochromatic workflow. You might notice it’s been heavily used here but again, I’m still looking at the sky in order to achieve the desired and moody effect. This also affects the glacier which appears out of the centre of the frame, our crucial eye-drawing element of the image. Together with the next adjustment method, masking and brushing out elements of the effect we want to hide, we achieve the following output below:
A quick run-through of how this is done and the science behind it: when it comes to masks in Photoshop remember this simple saying “white reveals, black conceals”. Therefore, to hide the effect of darkened levels performed above, simply click on the white mask next to the levels layer, select the brush from the toolbar and adjust its size to your liking. I also adjust the flow on the top panel to about 30% in order to gently brush out the unwanted effects, which in this case means, to reveal the underlying lit areas of the image. You can also click on the white mask with “alt” pressed to reveal how much of brush work you have done. The image will then look like this:
As you can see, the black represents the hidden effect of the levels applied beforehand.
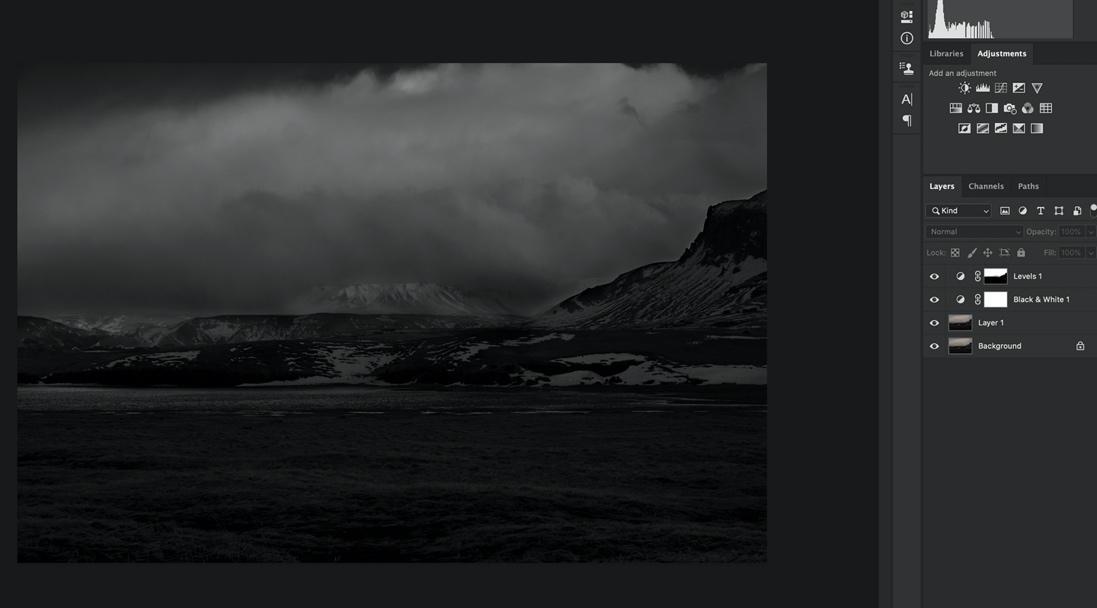
Now we’re ready to move onto adjusting the shadows of the image to reveal them a bit more. We’ll do this with levels again but on a new layer to specifically target just the shadows.
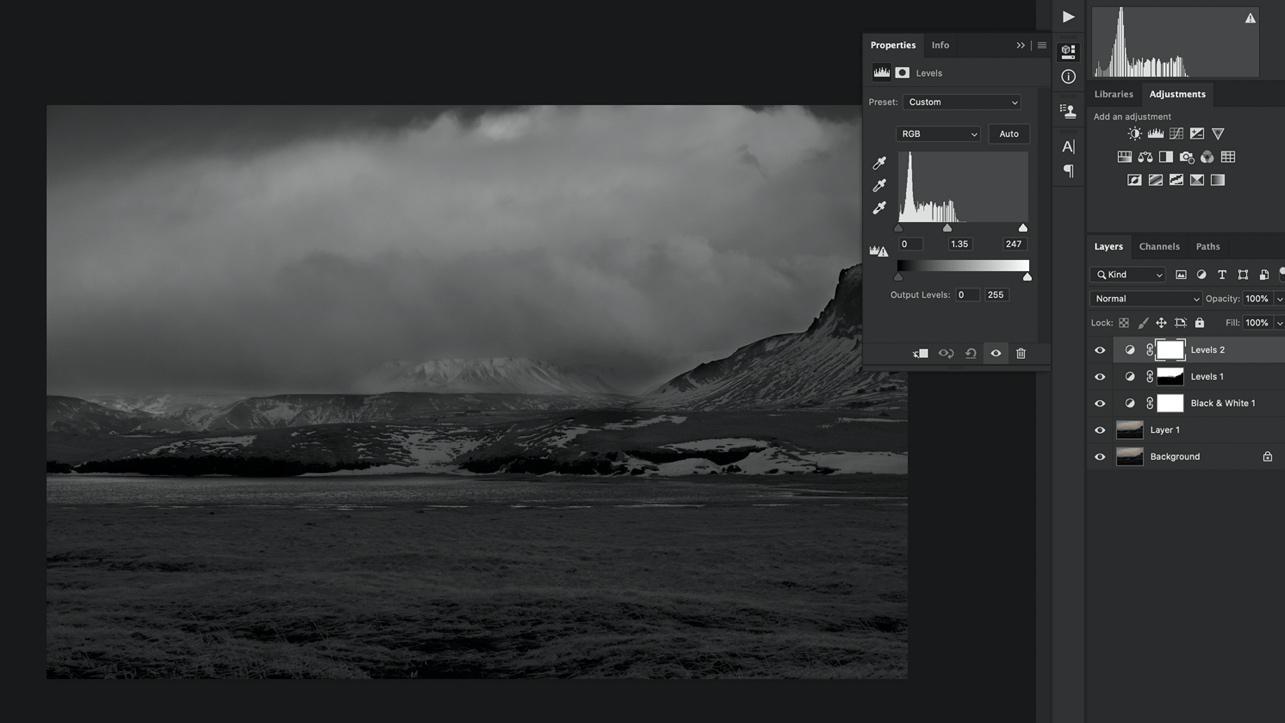
Less is more here as we adjust the levels just to gently reveal the foreground. Next, we again use a gentle brush with the foreground colour set to black and brush out the areas of the second curves layer that affected the sky. Top tip: press X to switch between the black and white foreground colour to mask the effect in and out if you made an error. And remember, in addition to your brush flow, you can always adjust the layer’s opacity should you feel the brush work has been too aggressive.
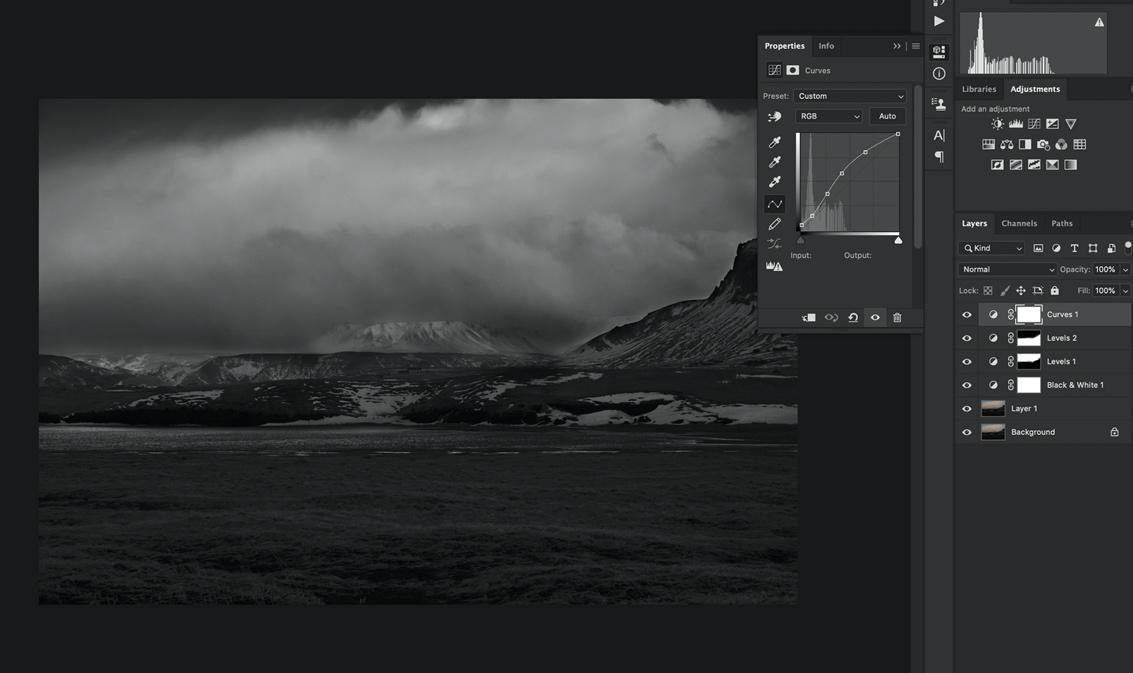
In the next step we apply an aggressive 6 point curve, globally, though at this stage, you’re already familiar with using the brush on a mask so if there is an area of a photo you’re not happy with due to a global adjustment, simply use the brush tool on the mask to get rid of it or smoothen it. After curves we are left with this image:
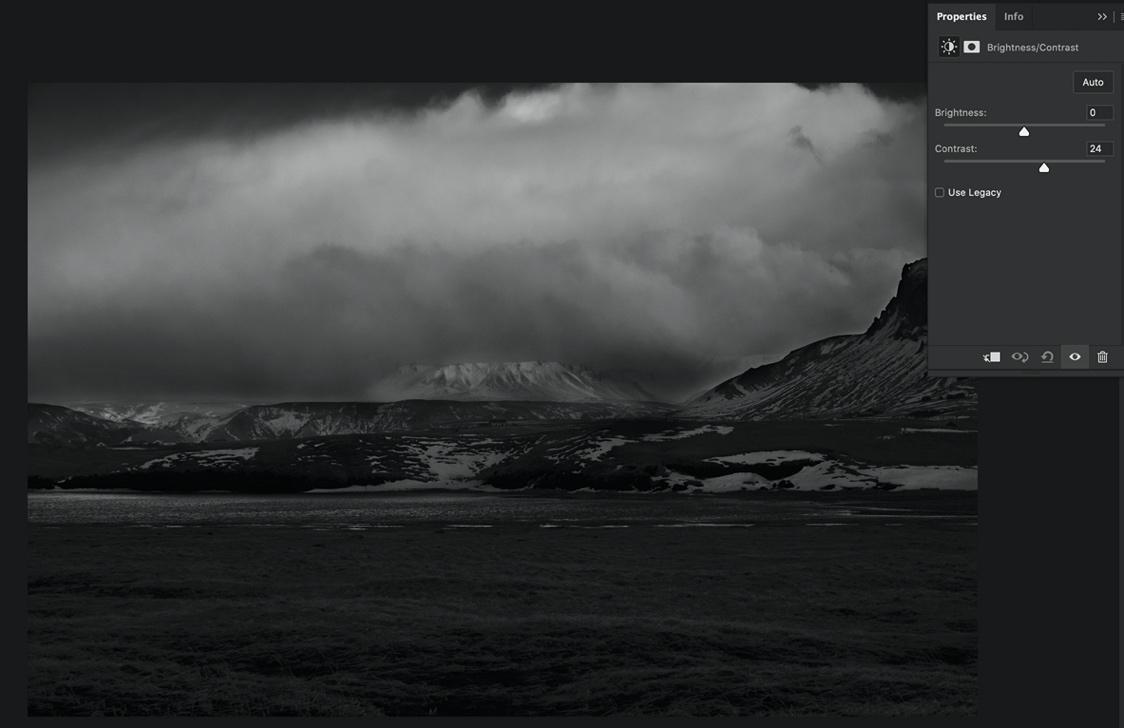
Next, we want to add a bit more drama to the image. I usually manipulate contrast using either levels or curves however here, a simple drag right to about 24 works well.
Finally, sharpening, always the very last stage of editing. Not many people know that bringing out details can be best achieved by using high pass filter in photoshop and I’ve found that Fuji RAF files respond well to this method, particularly the images from Iceland which I kind of rediscovered as a technique. It’s done in the following way:
1. Create a new layer
2. Press ctr/cmd+alt+shift+E (this snaps everything you’ve done previously onto the new layer)
3. Select filter – other – high pass
4. Using the slider select the number of pixels with the preview so that you can see the gentle outlines of your most important shapes in the image – here we’re going for the top of the glacier outline.
5. Press ok.
6. Change blending mode to Overlay
7. Optional: press Ctr/Cmd+J to strengthen/duplicate this layer and its effect. I did once.
8. Extra adjustments: remember you can use the method above with using black brush on a white mask to deselect areas you do not wish sharpened. Can’t see a white mask next to your sharpening effect? Simply click the icon below to create a mask on the sharpening layer:
Grain: this can be added in Camera Raw. To add it simply create a new layer, use ctr/cmd+alt+shift+E shortcuts to snap previous effects again and from the top menu choose Filter – Camera Raw. You’ll find it by selecting the sliders’ icon on the right of the adjustments.
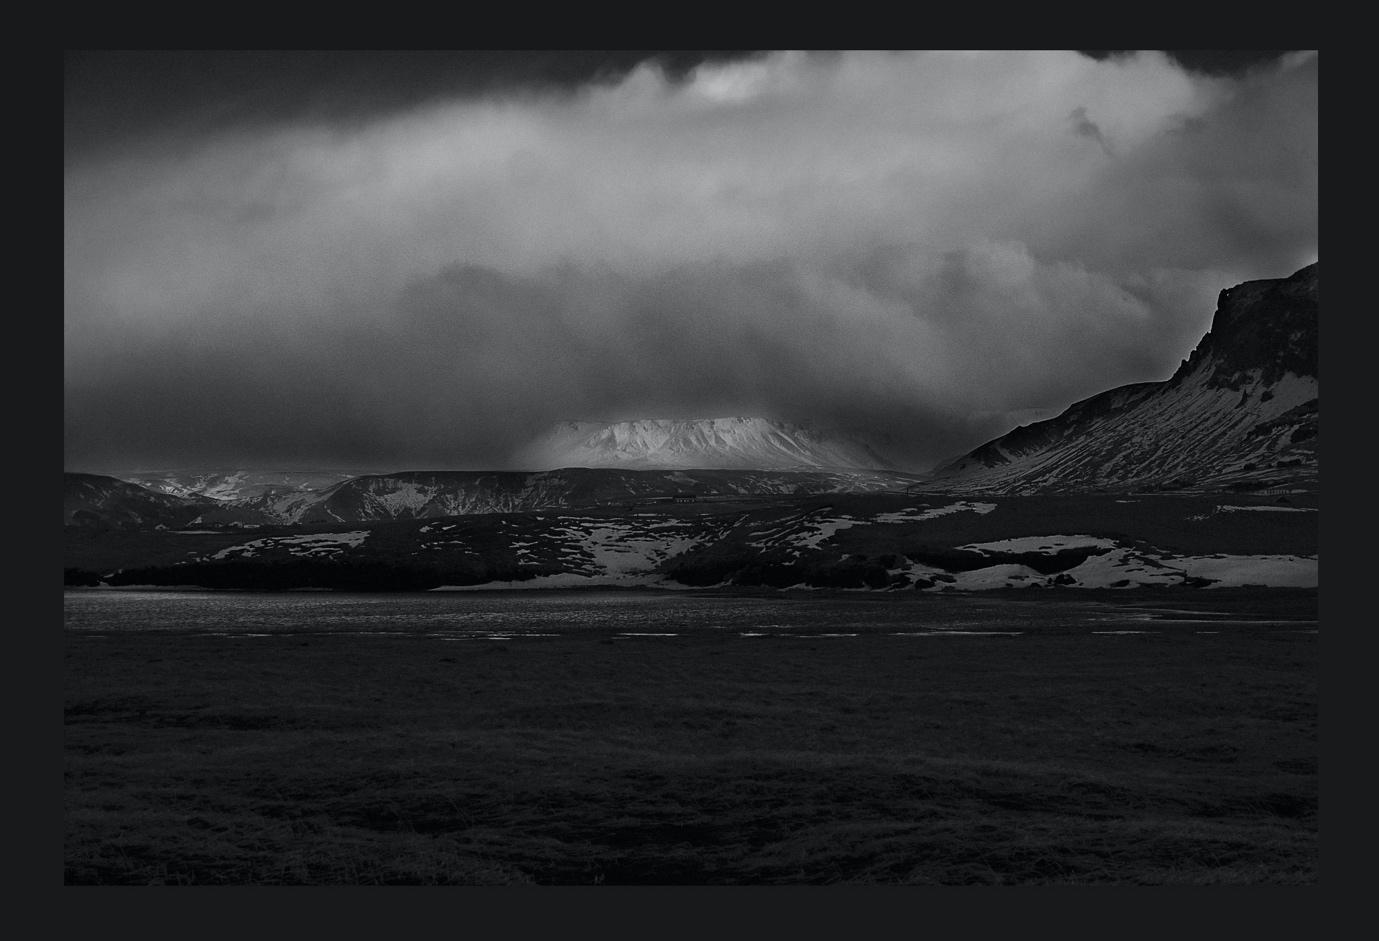
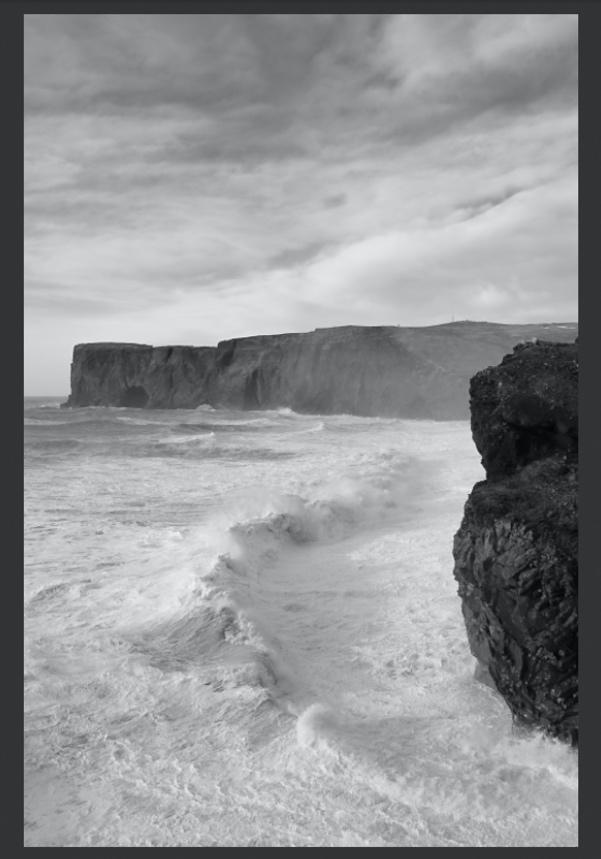
And we arrive at the final image below:
There are of course many variations on the format and indeed the form of the image we tested and the techniques explained above can be applied to your liking in order to come to the final outcome. I’ve found the image above quite pleasing and overall powerful when print-testing on fine art Ilford paper.
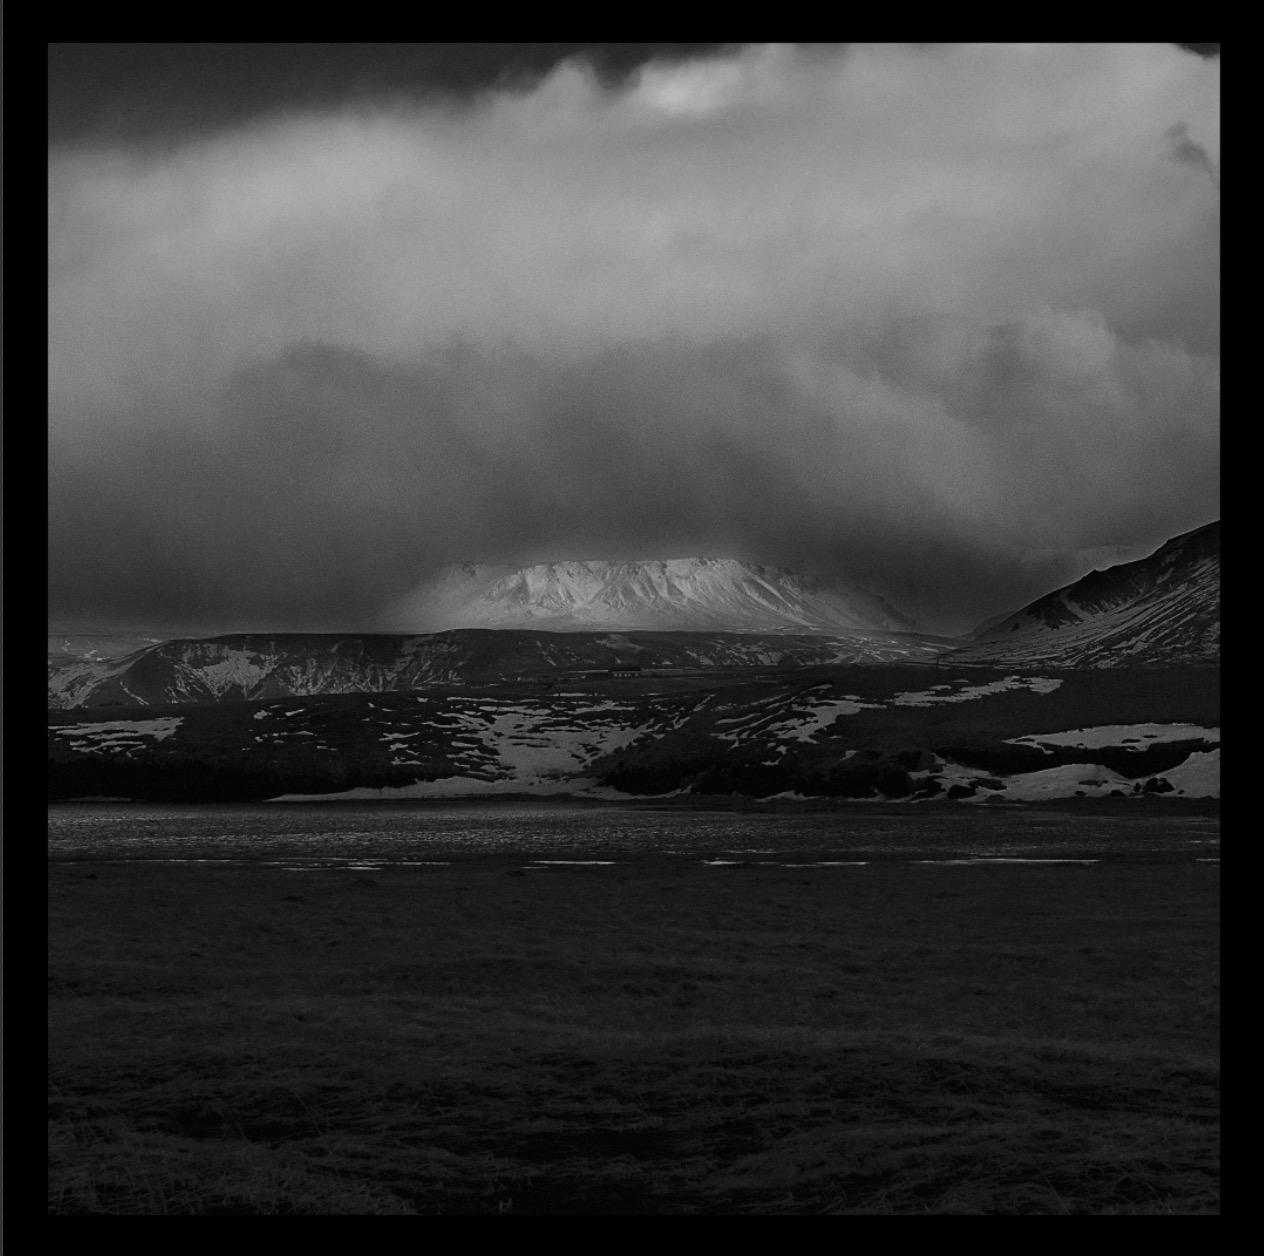
Another tester was to crop the image to 1:1 format which I also quite liked.
Editing monochrome in Lightroom
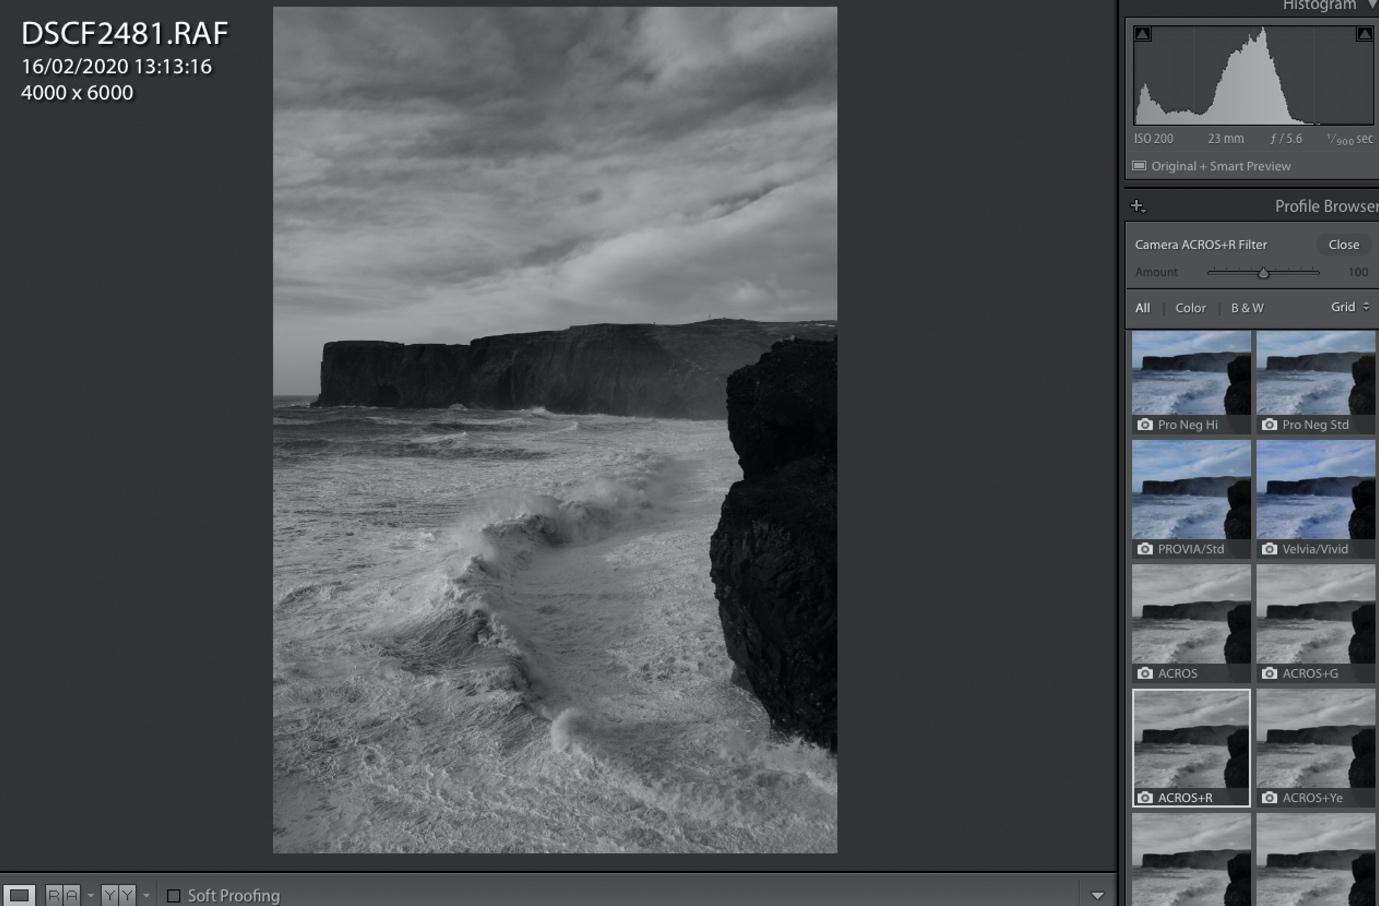
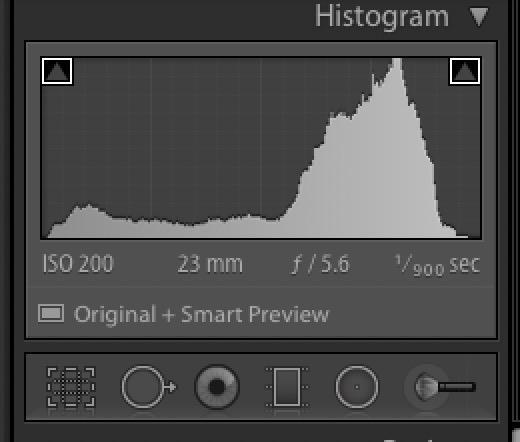
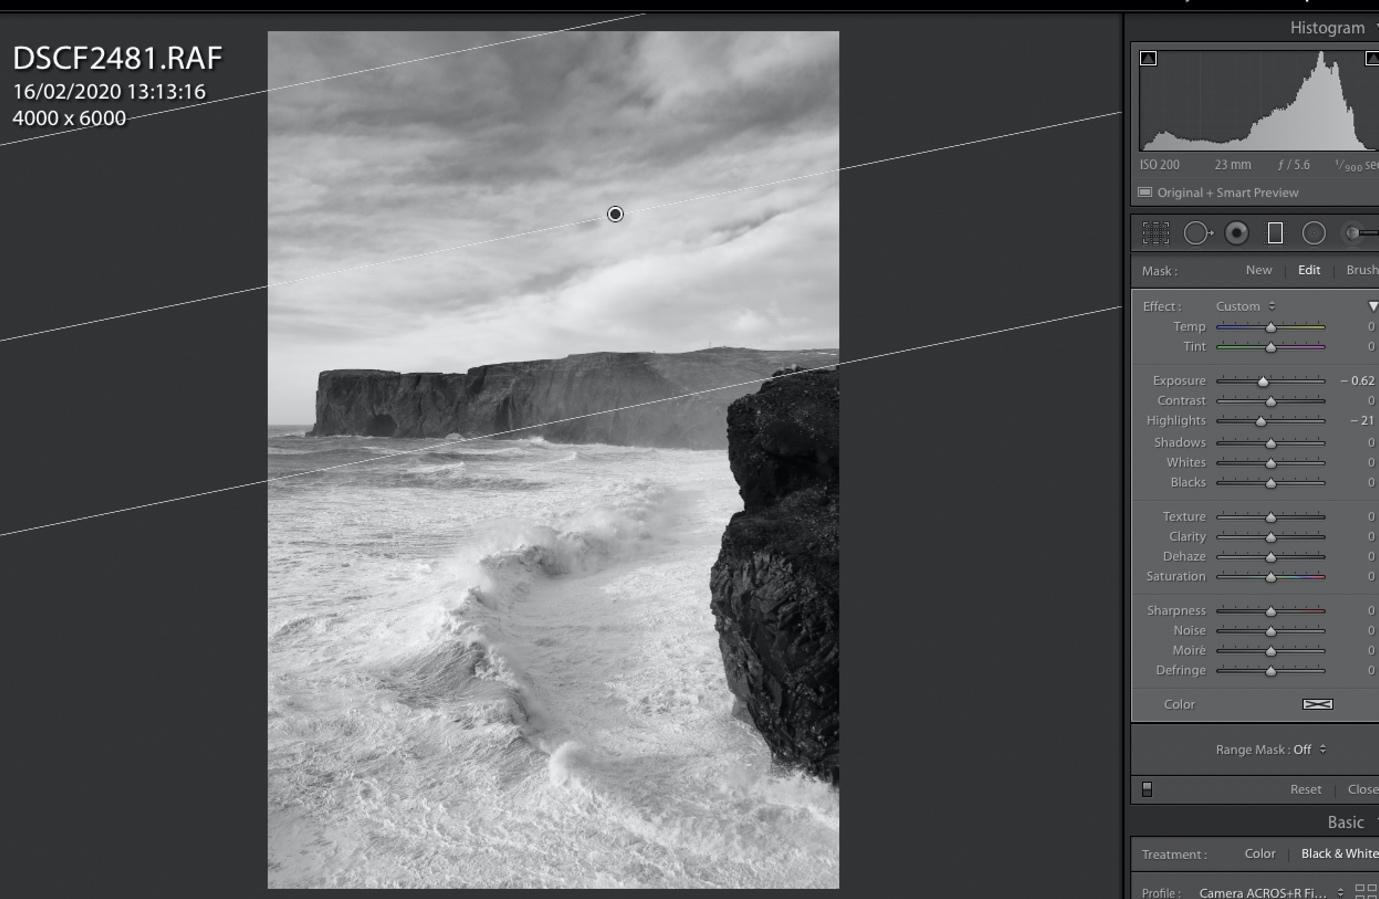
Although I find Photoshop much more capable in handling and editing files, especially in preparation for printing, a lot of my work which doesn’t require a great deal of editing is performed in Lightroom. The workflow below looks at mastering the Fuji RAF file in Lightroom. Starting from the raw file, the first step is to dial in and select the colour profile. As I mentioned earlier, I shoot with the EVF showing the Acros+G effect however for this image I’ve selected Acros+R due to a bit more drama and detail shown in the sky. This good starting point is also confirmed by the histogram which shows the scene shot “to the right” with no overexposed or underexposed areas.
The scene at this stage is too dark. When adjusting exposure I’m a great fan of doing so by dragging the histogram areas of shadows and/or highlights to end up with a much more even and open scene. To the left, we can see our starting point on the histogram and to the right the one with adjustments. Top tip: hit “J” on your keyboard to switch on warnings in Lightroom, these will inform you whether you’ve gone too much to either side of the exposure. Notice the squares on both sides. If they aren’t lighting up, you’re good to go!
At this stage I might have a slightly over exposed sky. This can be adjusted by a graduated filter in Lightroom. Let’s have a look:
This is now better as it adds just a little bit more drama to the image.
When it comes to sharpening the image, I’d normally open this image from this stage in Photoshop and used a high pass filter as explained above in our first photo edit, however, if you’re planning to do so here, in Lightroom, make sure you adjust your Masking slider. This is best done when pressing and holding the “alt” key. This will turn on the preview of edges where by you’ll see them pop and sharpened with other areas left unaffected by dragging the slider to your right. In general, I adjust my masking around 70%-80% in the Fuji RAW files with very good results in print and on-screen.
When it comes to printing, I export the files with the setting of “Sharpen for paper – Low”.
Many of the images from Iceland form this year’s trip will definitely find their way on my personal wall in the study. I’m a true believer in printing images and love creating albums and photo books as I think images die when only used for the screen. We simply don’t pick up a phone or a laptop with the same level of focus, dedication and curiosity to view the photographs and that is where photography belongs and shines most.
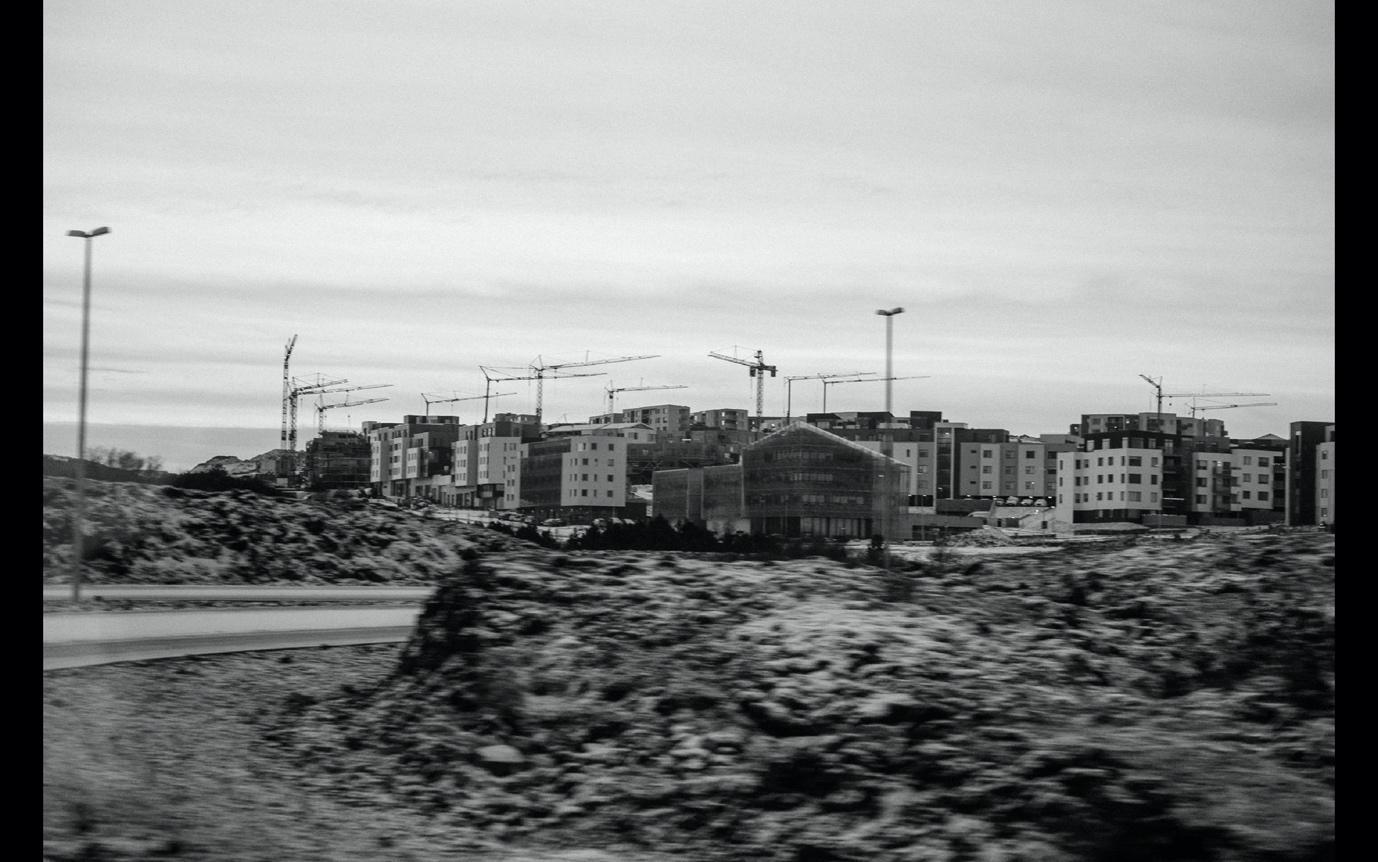
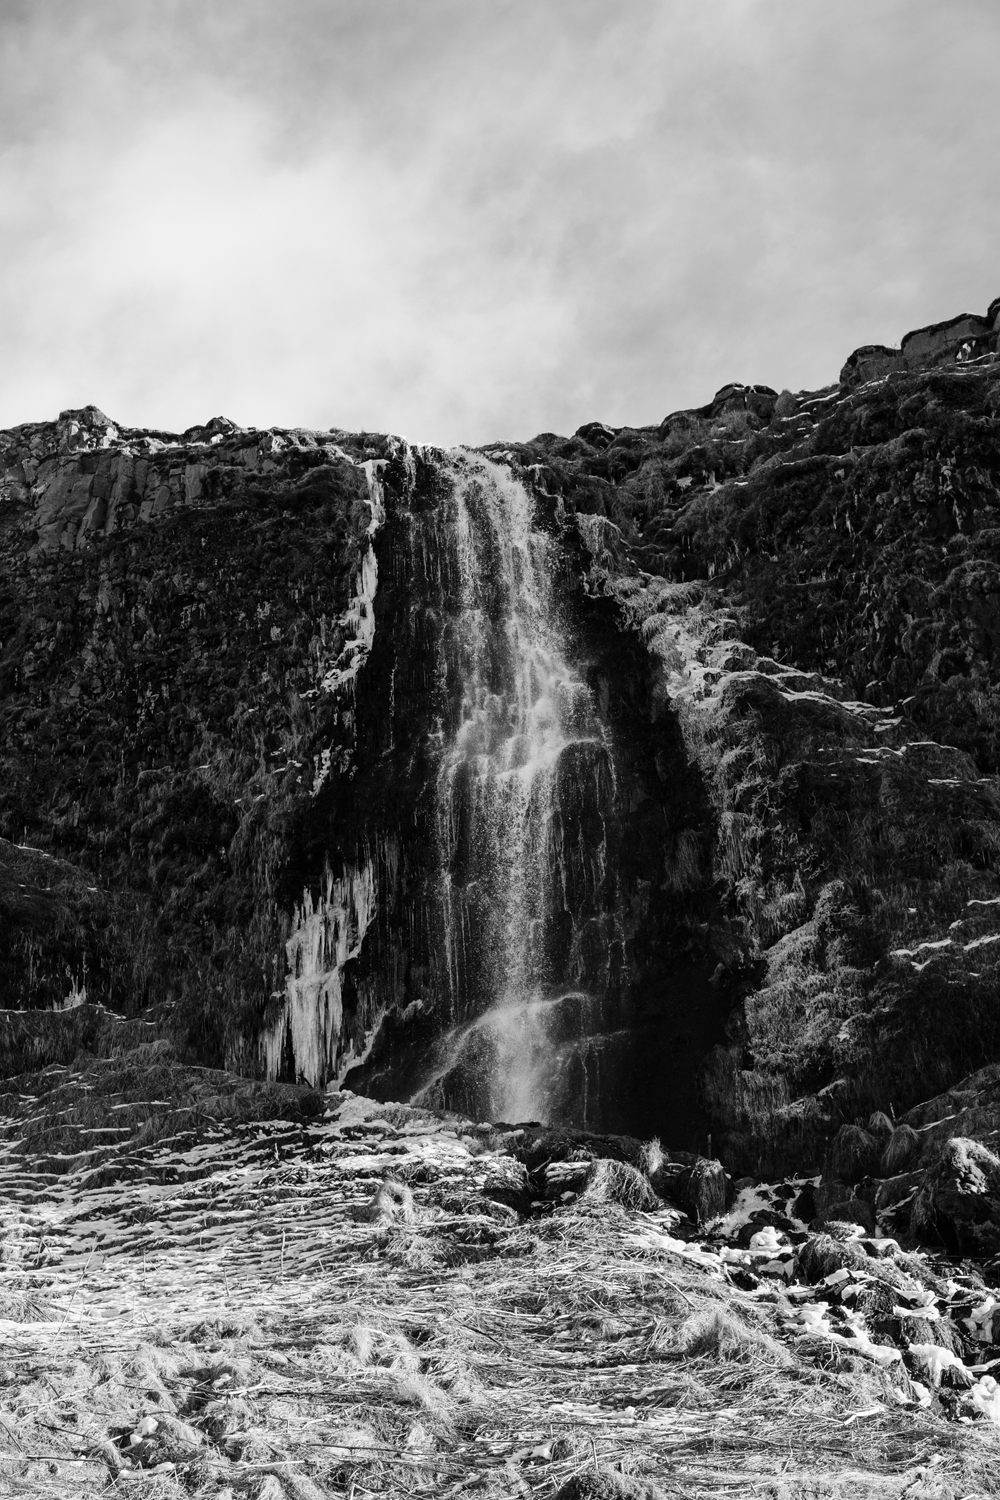
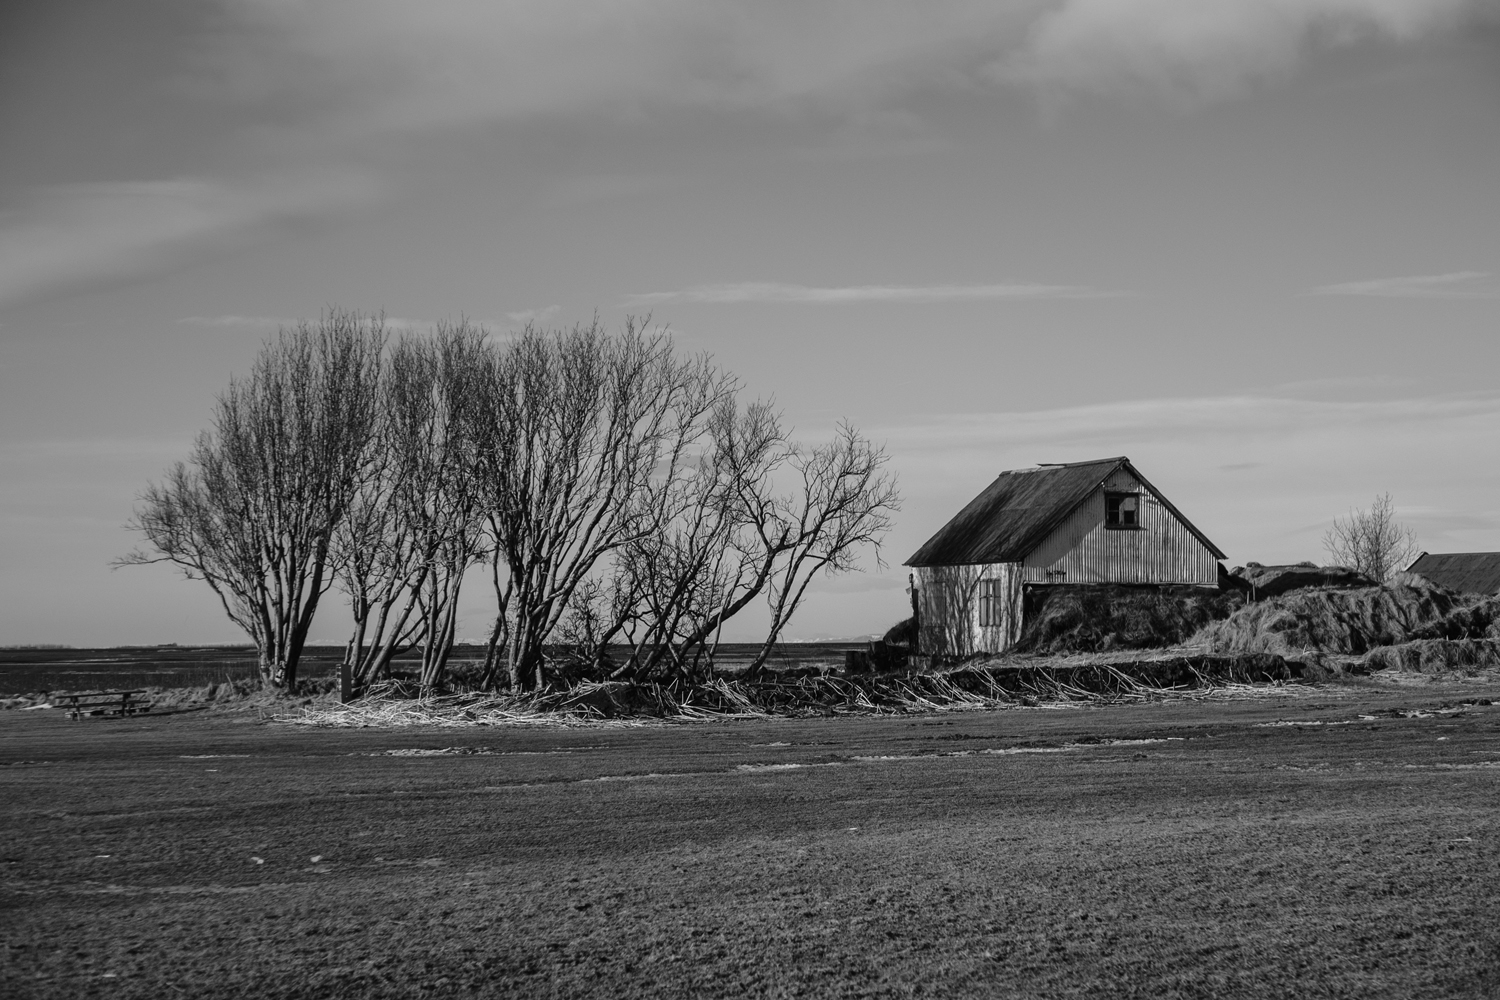
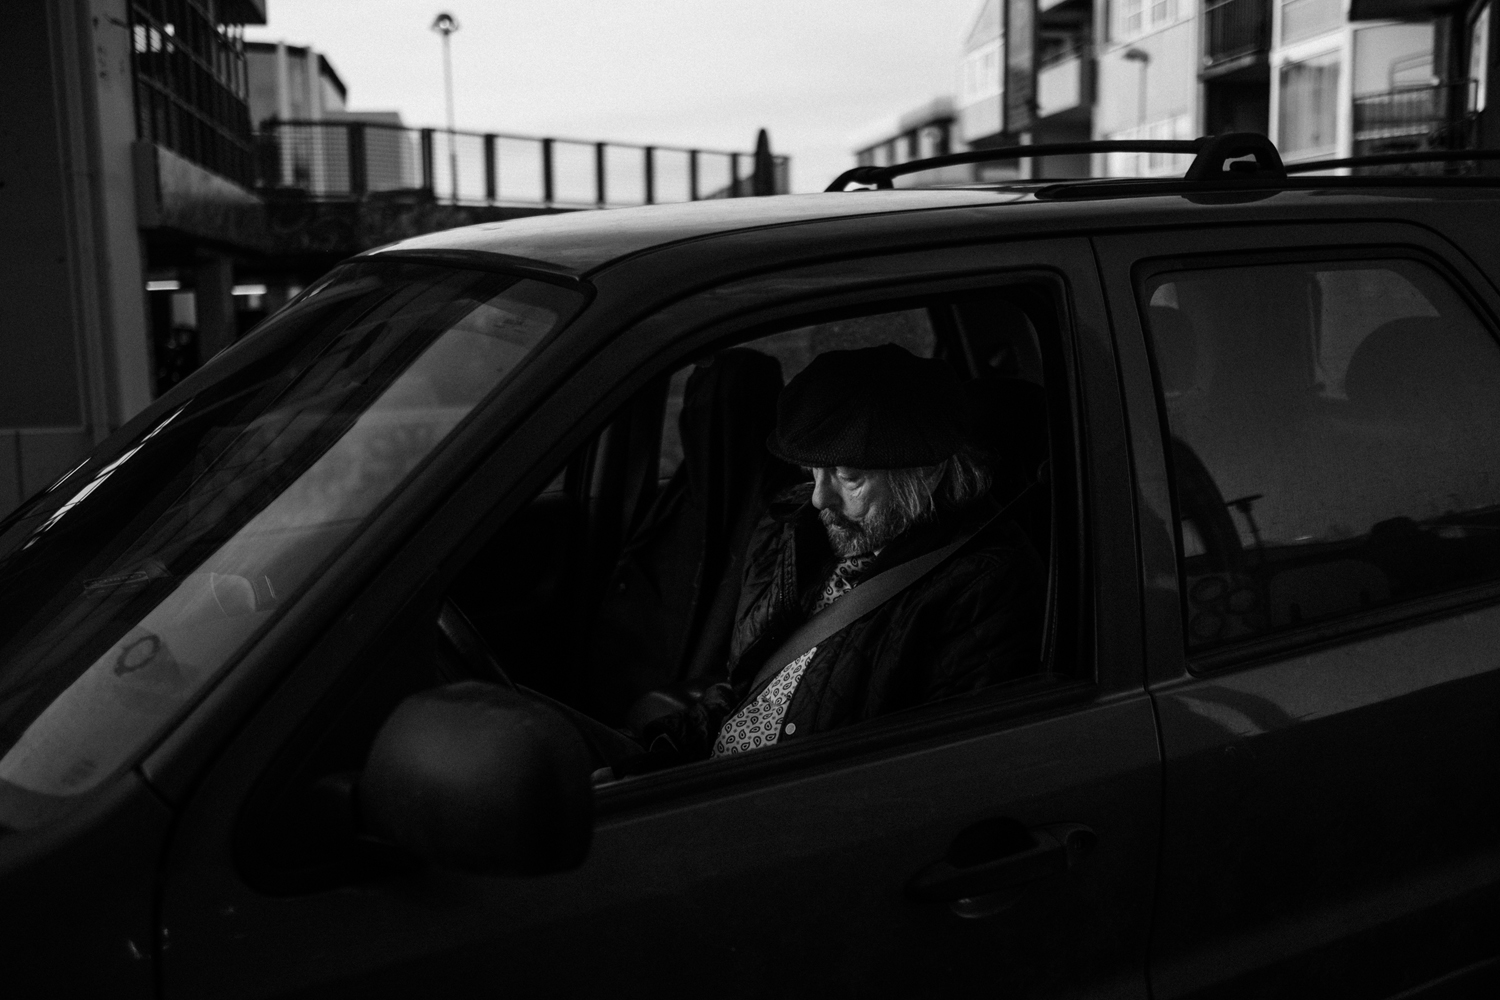
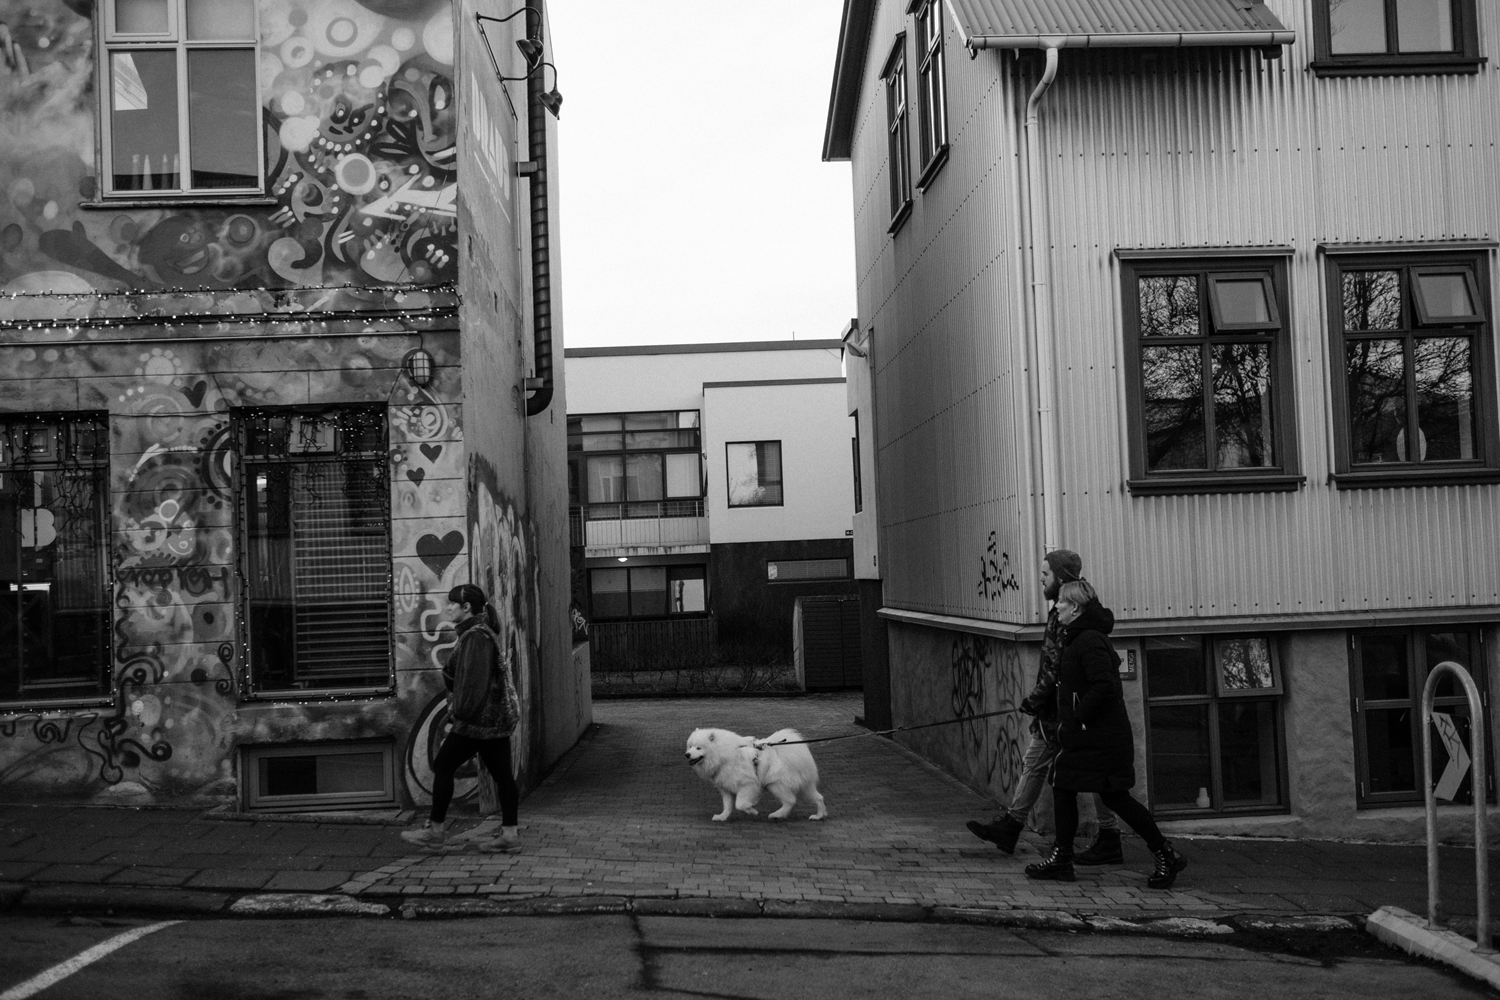
Some more images from Iceland can be viewed below:
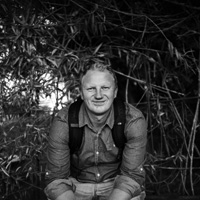
“Hi, I’m a wedding photographer based in Market Harborough. I’ve been photographing events for more than 12 years. I love weddings though! The details, people’s interactions, attire, flowers, the laughter and tears, the colours, happiness and love, all the elements of surprise and emotions which all create an event one should truly be able to remember. I aim to document but also to tell a story of Your wedding through photography.”

