Replicate film vibe with digital cameras – Part II
This article is Part II, and I will guide you on “How” to build a custom Fujifilm Film profile and the different editing choices we can make.
You can read the first part of this article here: Replicate Film Vibe with Digital Cameras – Part I
I closed Part I of this article suggesting to experiment with your Fujifilm camera and with the awesome film profiles we have. My advice, if you are at the beginning, is to choose one pre-edited profile you can find online; for example, let’s pick one called “Kodak Portra 400 Warm”. The name clearly reminds us of one of the most famous color photography films. For the purpose of the article, I will use my Fujifilm X-Pro3. I have taken some snapshots of the menu pages you can follow to build your Custom Film Profile.
It’s important to say that every Fujifilm camera is a little different. Each film profile (native or custom) is going to look different based on the sensor.
So, my recommendation is to pick one profile, build it, and start making some experiments. In this way, you can understand how much the settings like “white balance”, “color shift”, “dynamic range”, “grain” etc.. are going to affect your final jpg image. Remember: the image you will display on your camera screen is the jpg image “created” by your camera (processor)!
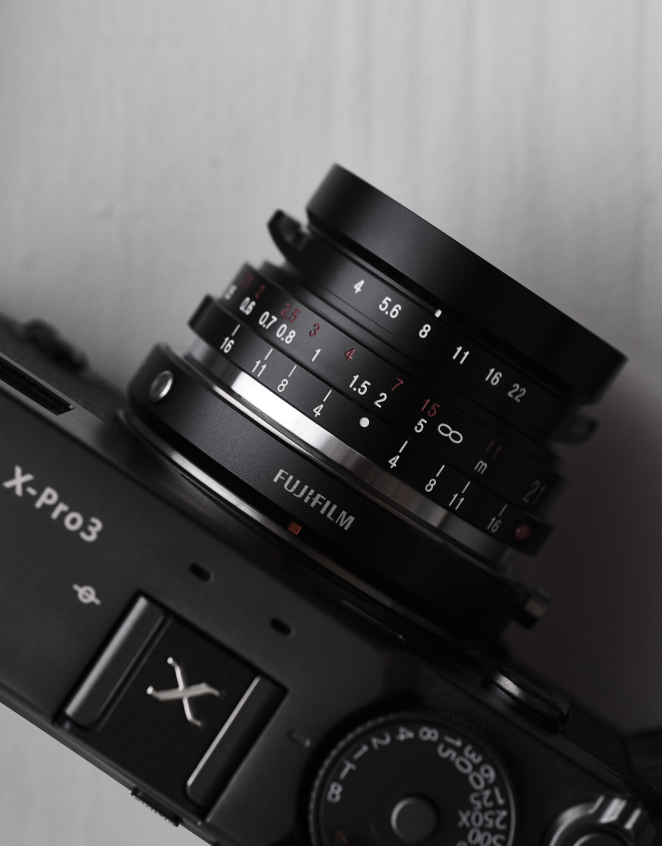
Let’s dive into building a film profile with your Fujifilm camera.
First of all, turn your camera on and go into the Image Quality Setting menu on page 3/3.
Now scroll down to Edit/Save Custom Setting.
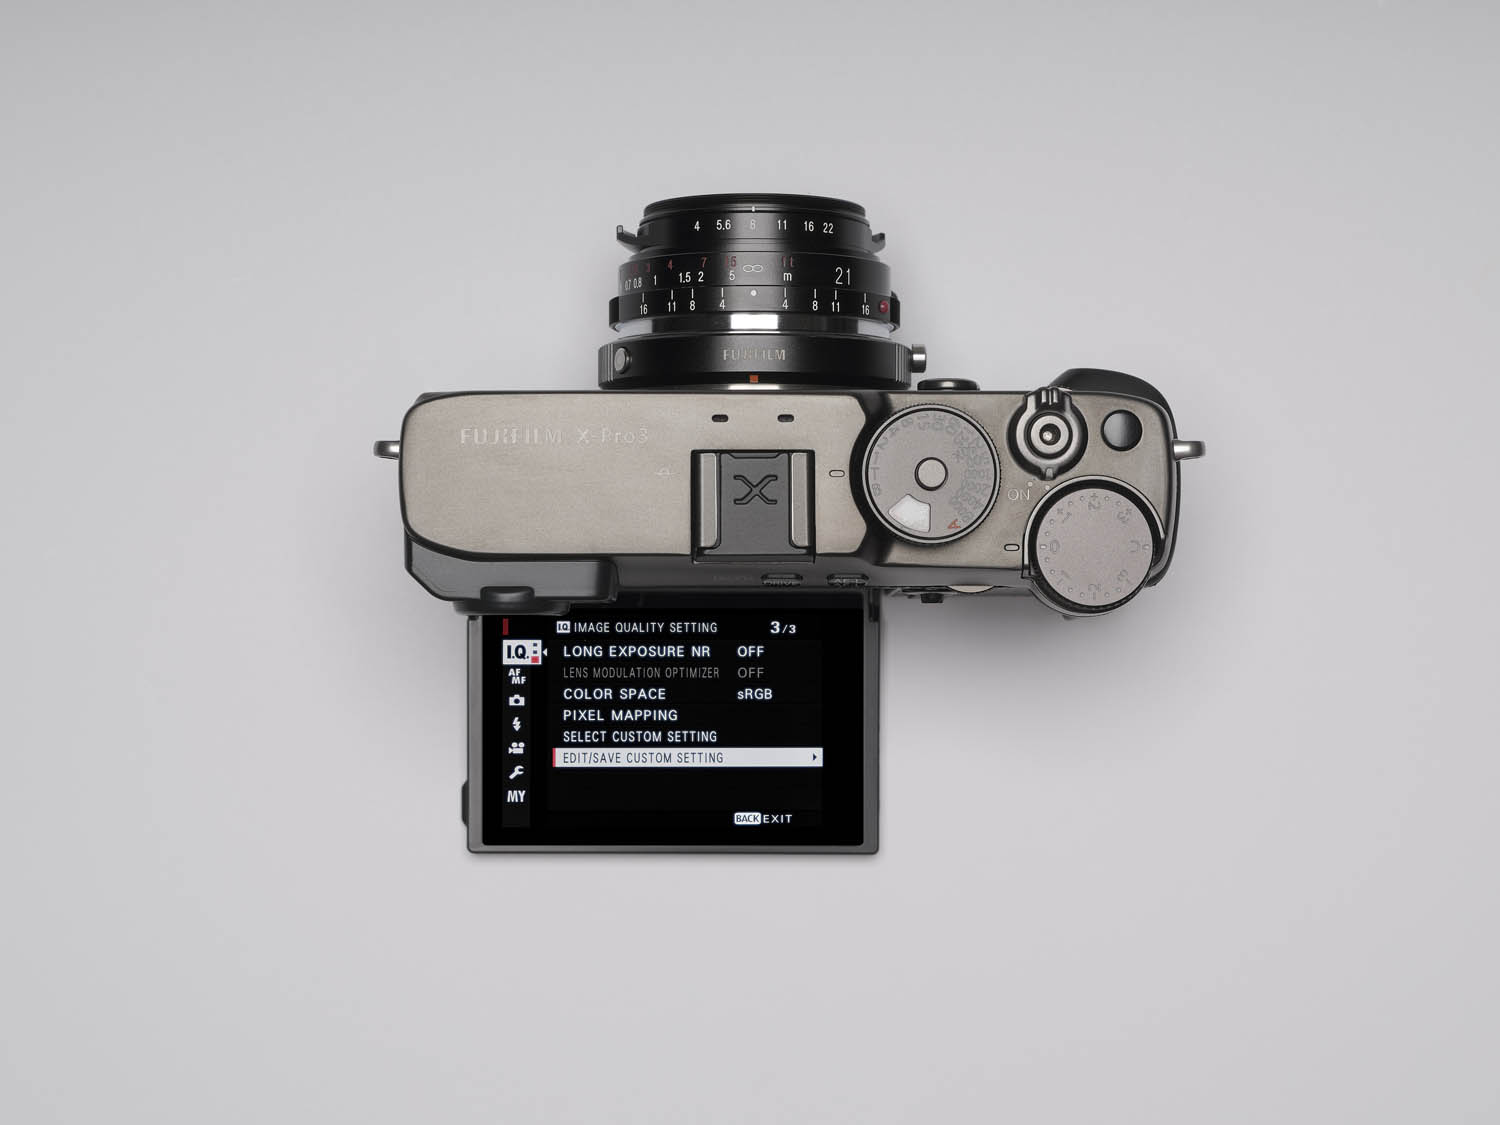
The following is the menu you are going to display.
As you can see, we have 7 different profiles we can edit and save. I usually have 2 profiles created with un-modified (native) Classic Chrome Original (C1) and Classic Negative Original (C7). These are my favorite native film profiles, and I like to keep them clean when I don’t have a clear mind about which kind of “palette” I want to use for the scene I am going to shoot.
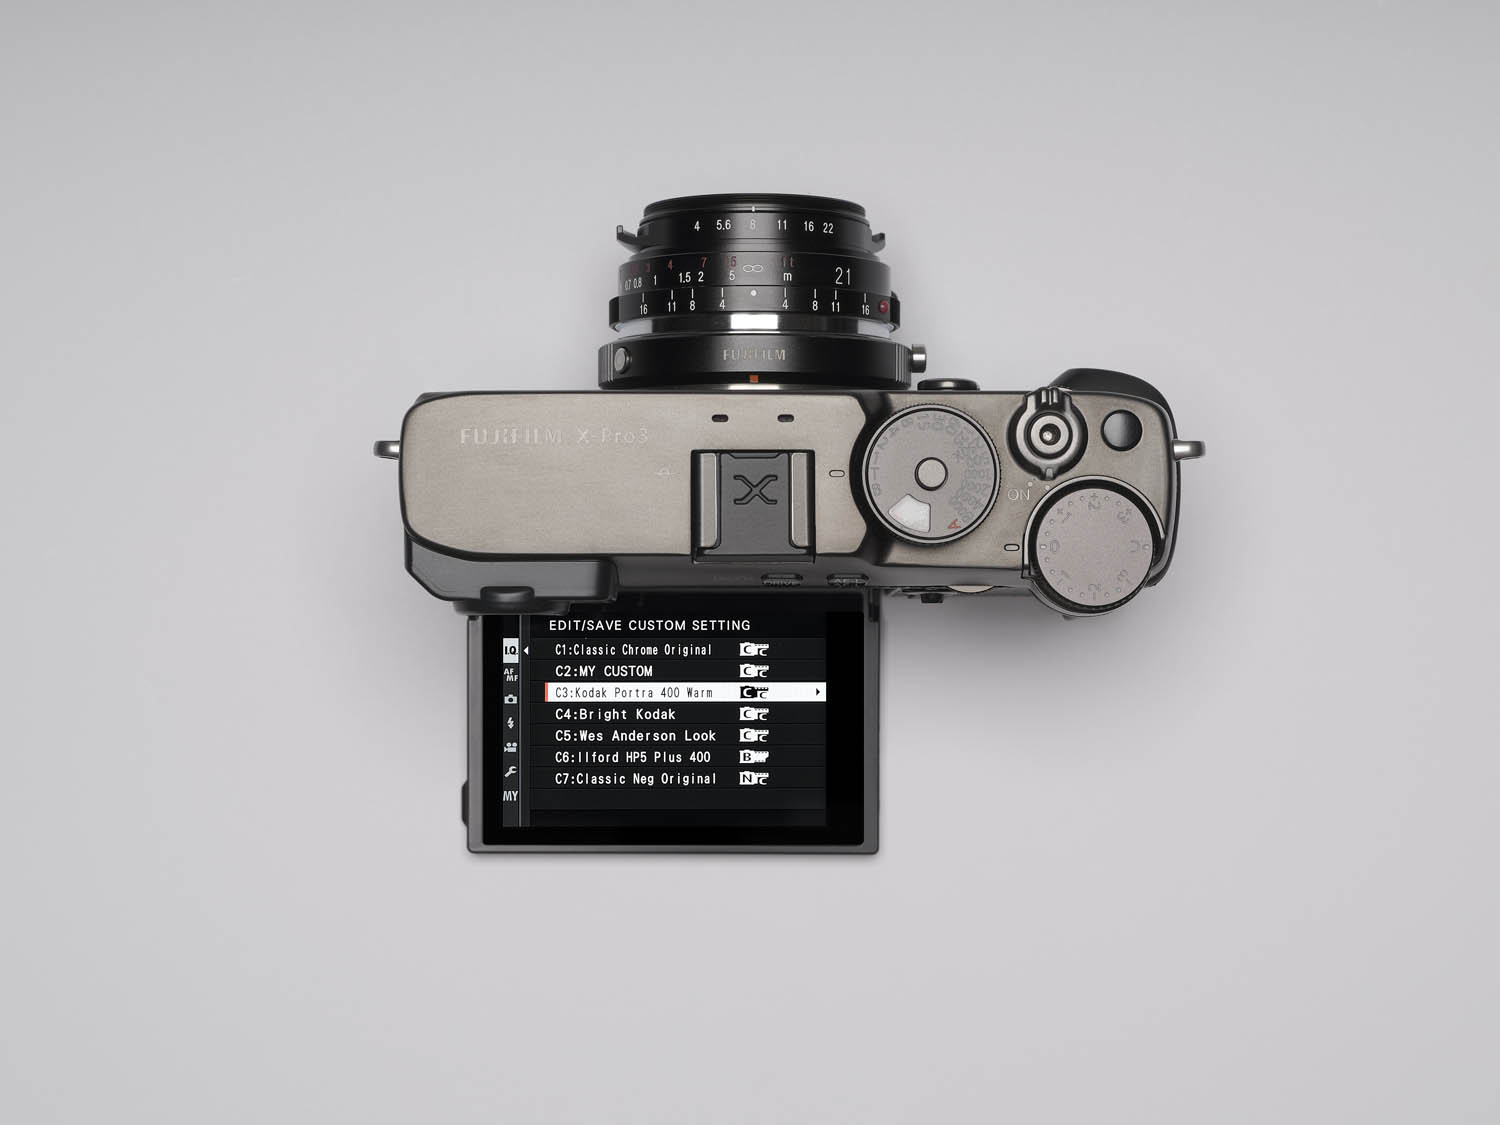
If you click on one of the 7 Custom profiles, you are going to have 4 options.
EDIT CUSTOM NAME on the second line is where you can set a name for your profile. As I said, I went down to C3 on my X-Pro3, right-click -> edit custom name, and then set the name you want for the profile. In this case, Kodak Portra 400 Warm is the name I decided on. When you finish, click SET and the name is going to be saved (or edited).
As you can see from my screenshot, I used different names. I recommend using something that quickly reminds you which kind of profile it is (color, black&white), or if you need/want to shoot that profile over-exposing or under-exposing, for example.
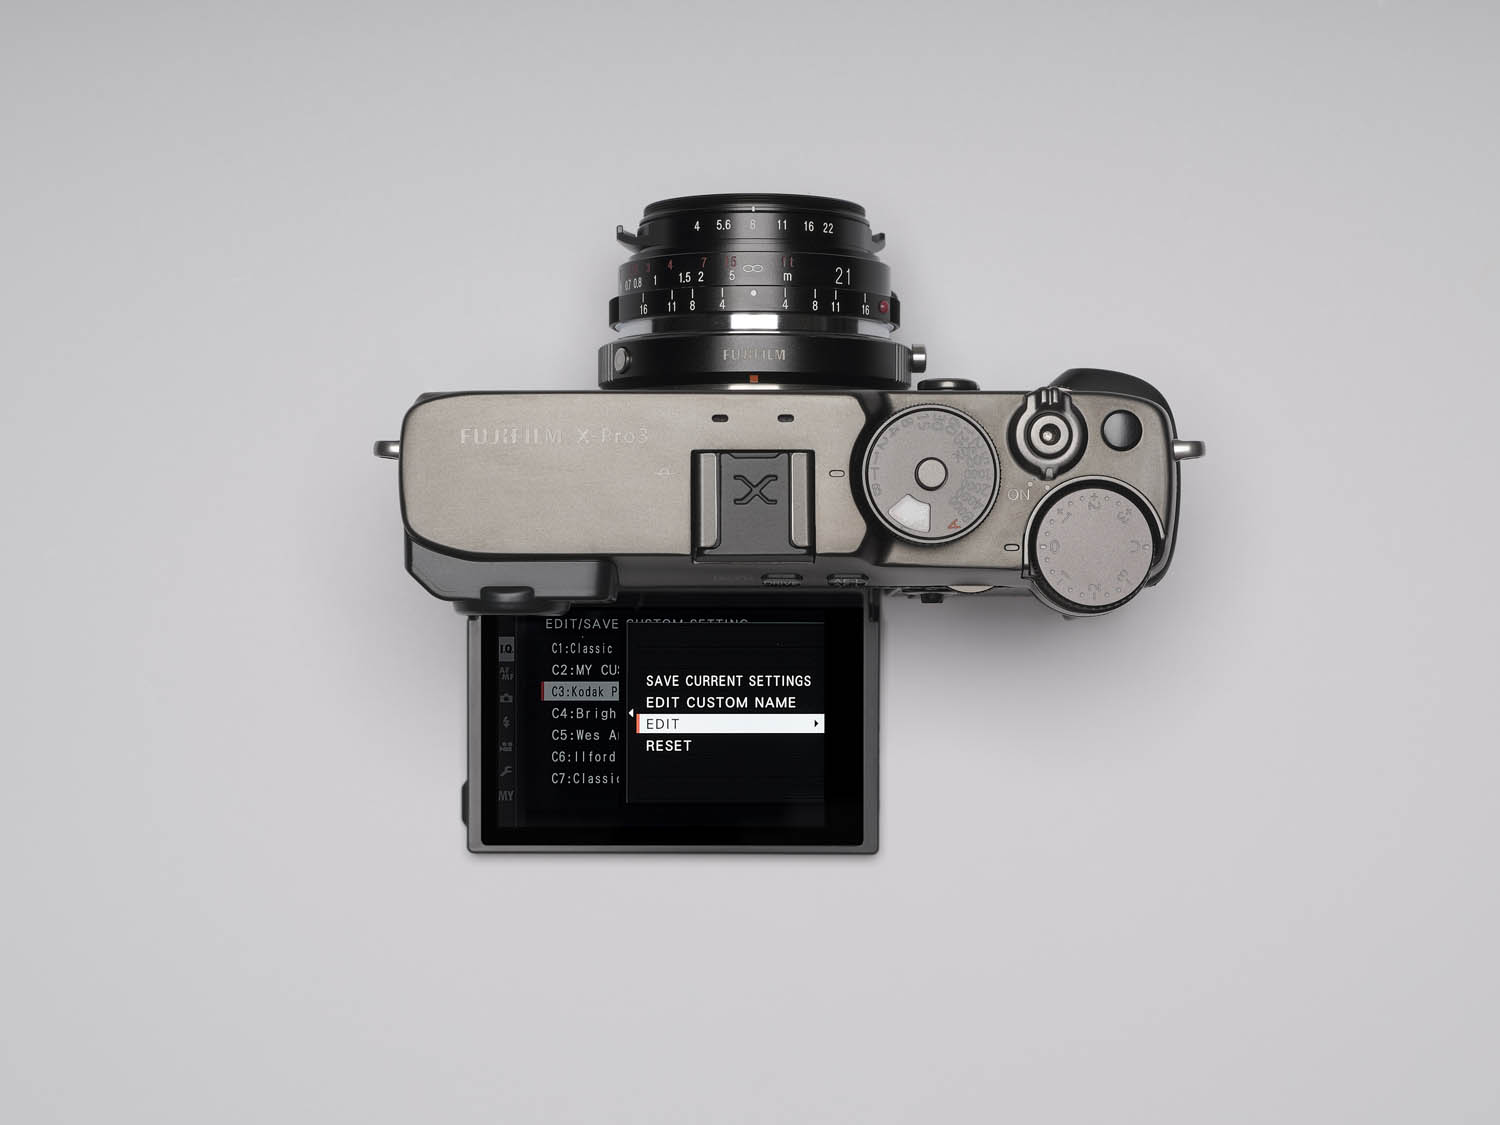
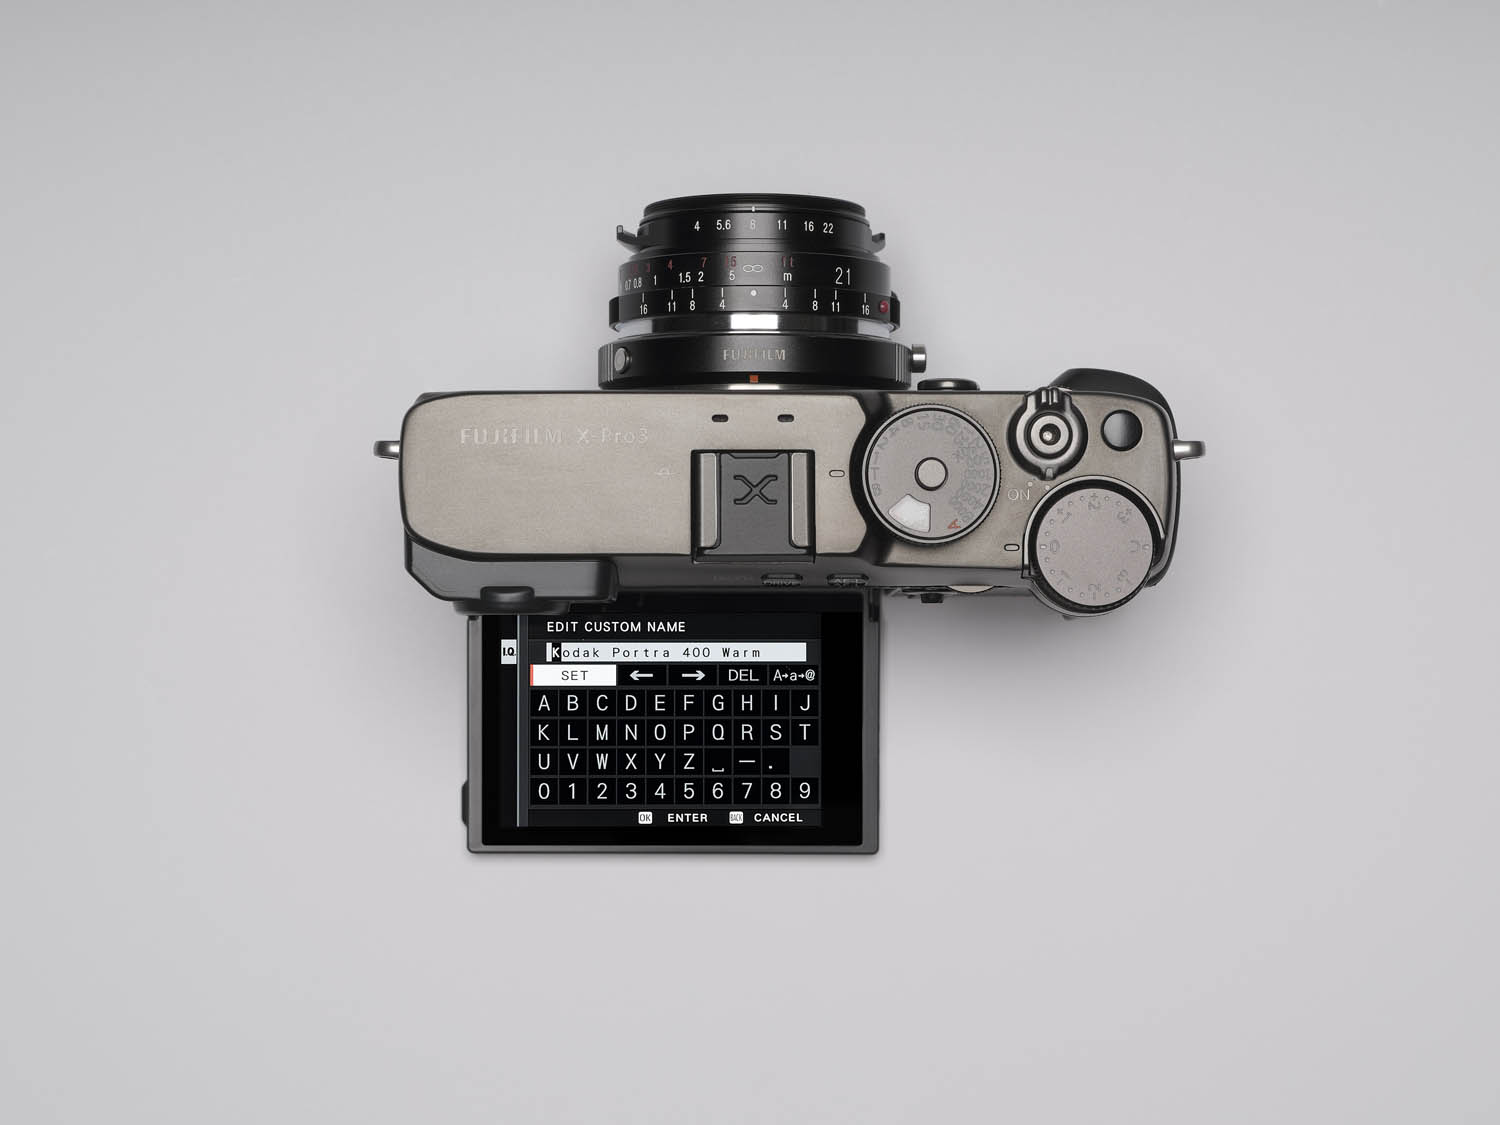
Now if you click on the 3rd line, EDIT, you can start editing/building your profile.
Some lines are going to be grayed out. These are options that you can change/decide outside these menus and are always going to be valid.

This is page 1/3 to build your custom profile. As you can see, we can choose the film simulation, grain effect, color chrome effect, and color chrome fx blue. With new cameras on the market, Fujifilm is introducing new settings, but you can definitely achieve a good result even with the first models (with less customization).
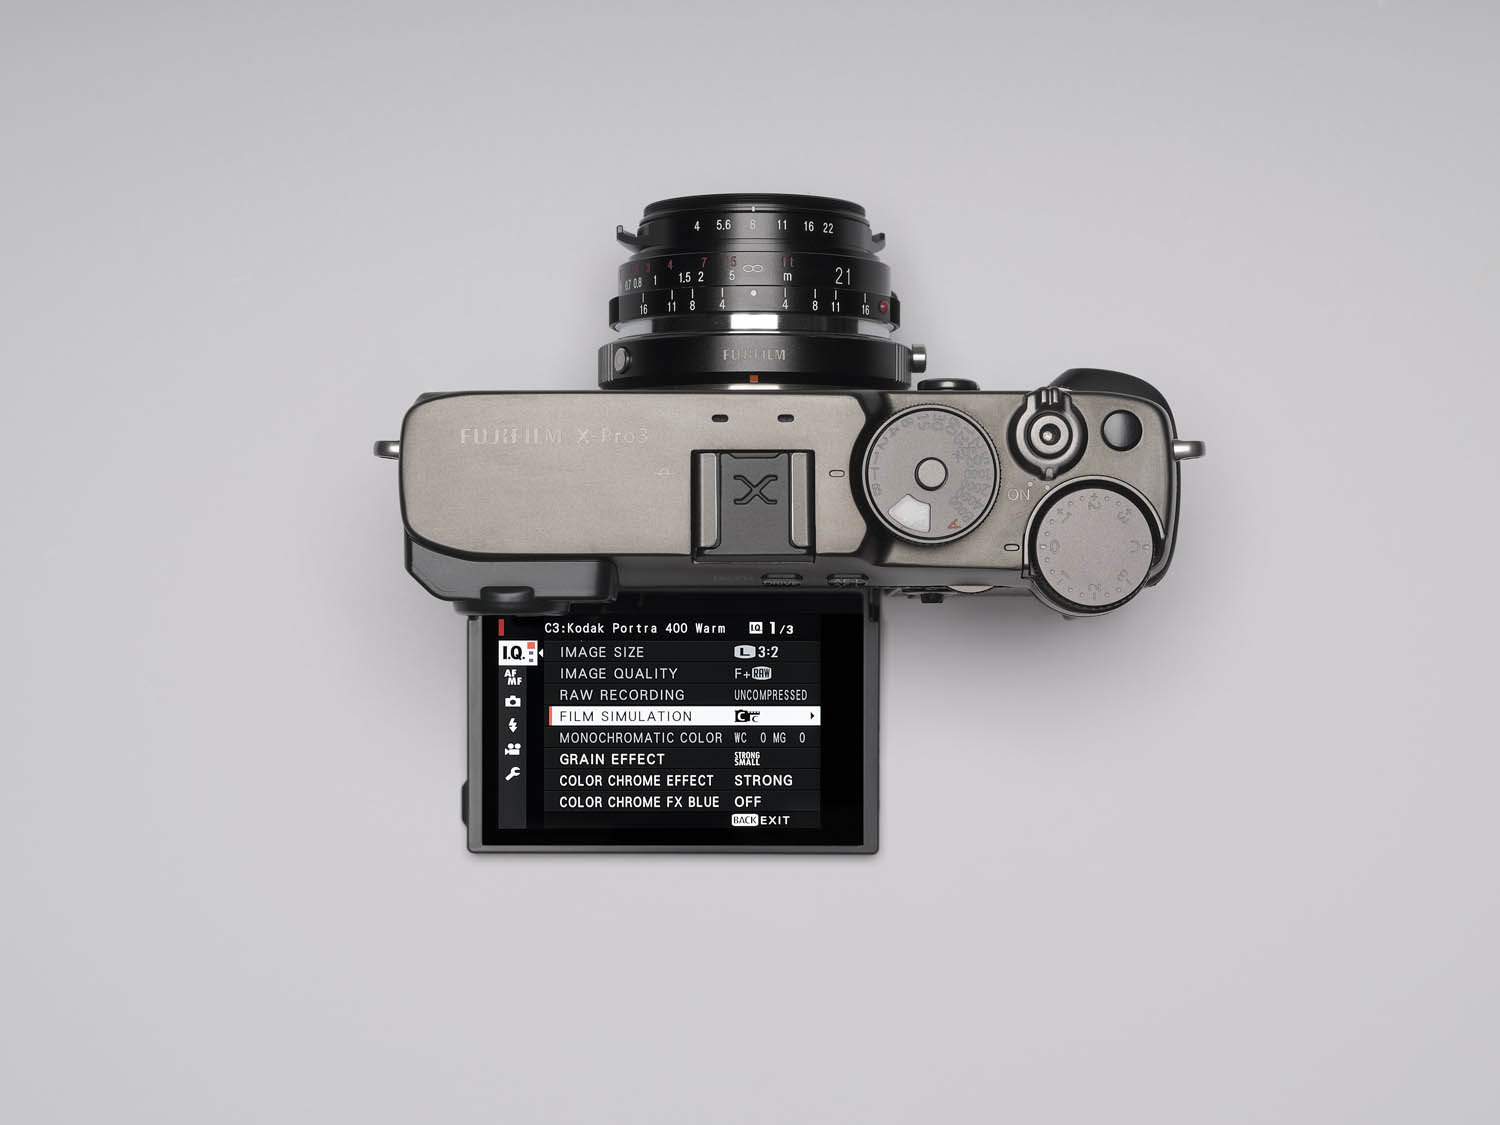
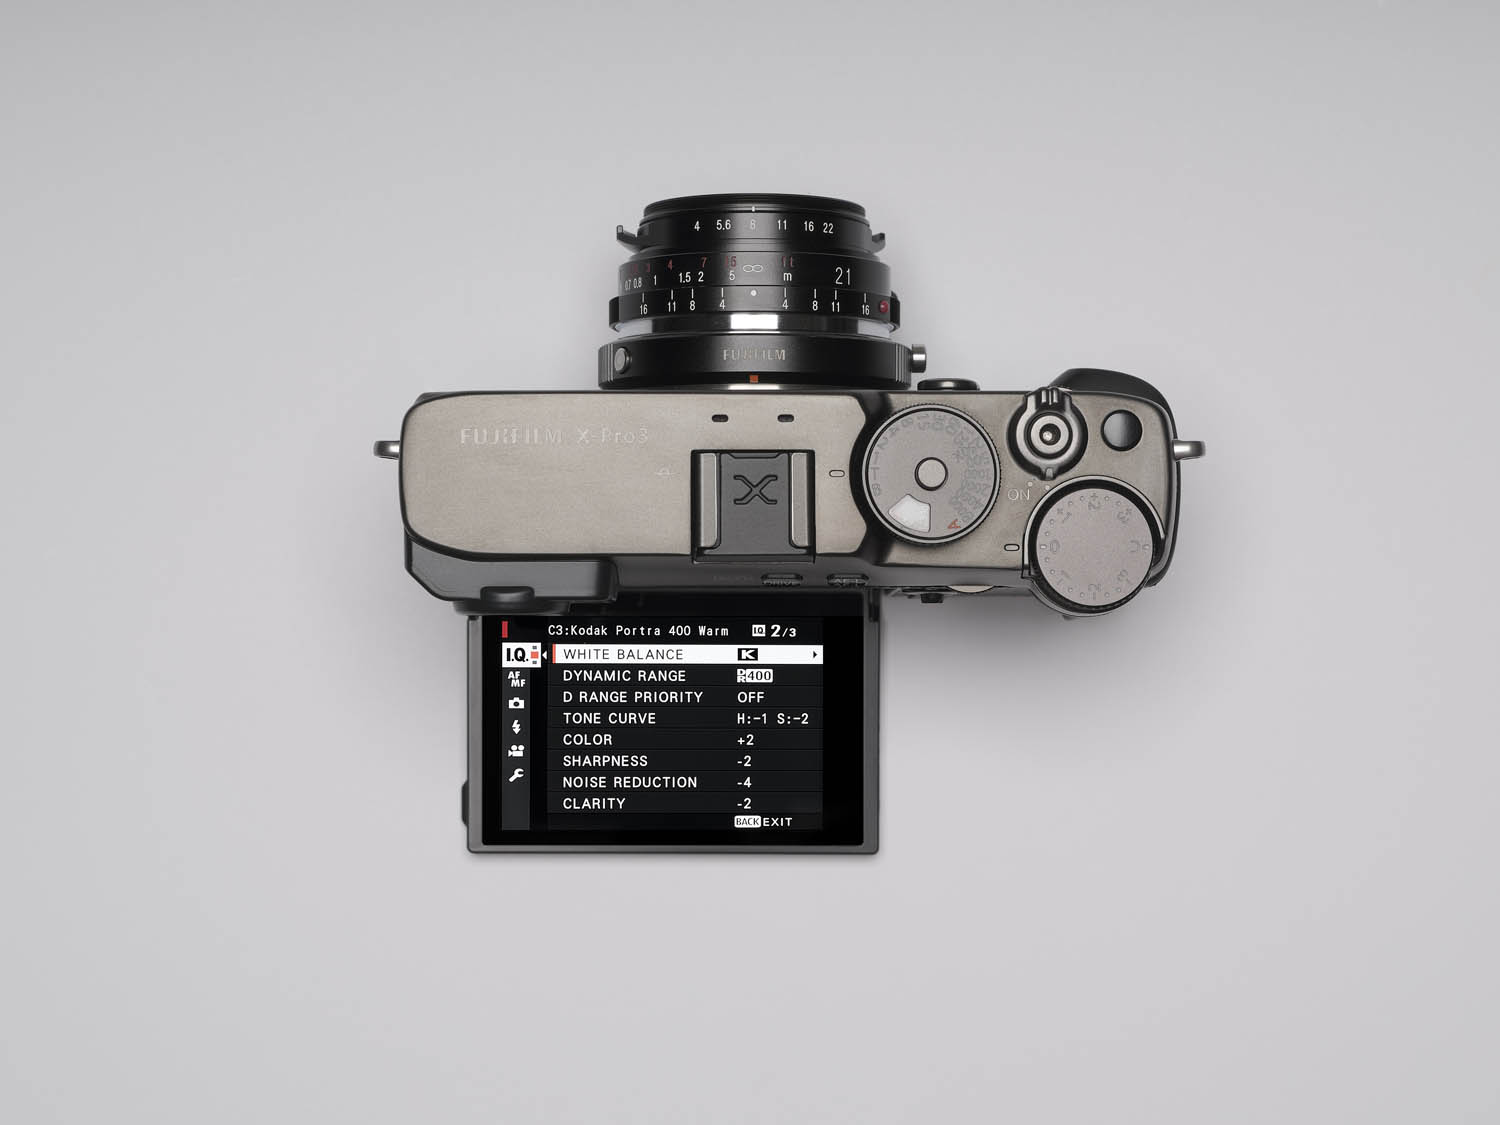
Page 2/3 is the most important. The reason behind this is that with the white balance, dynamic range and tone curve, we can drastically change the final jpg image.
Some settings would require a longer explanation. I would suggest checking your camera’s manual to deeply understand how those changes are going to affect the image. I’ll try to explain them.
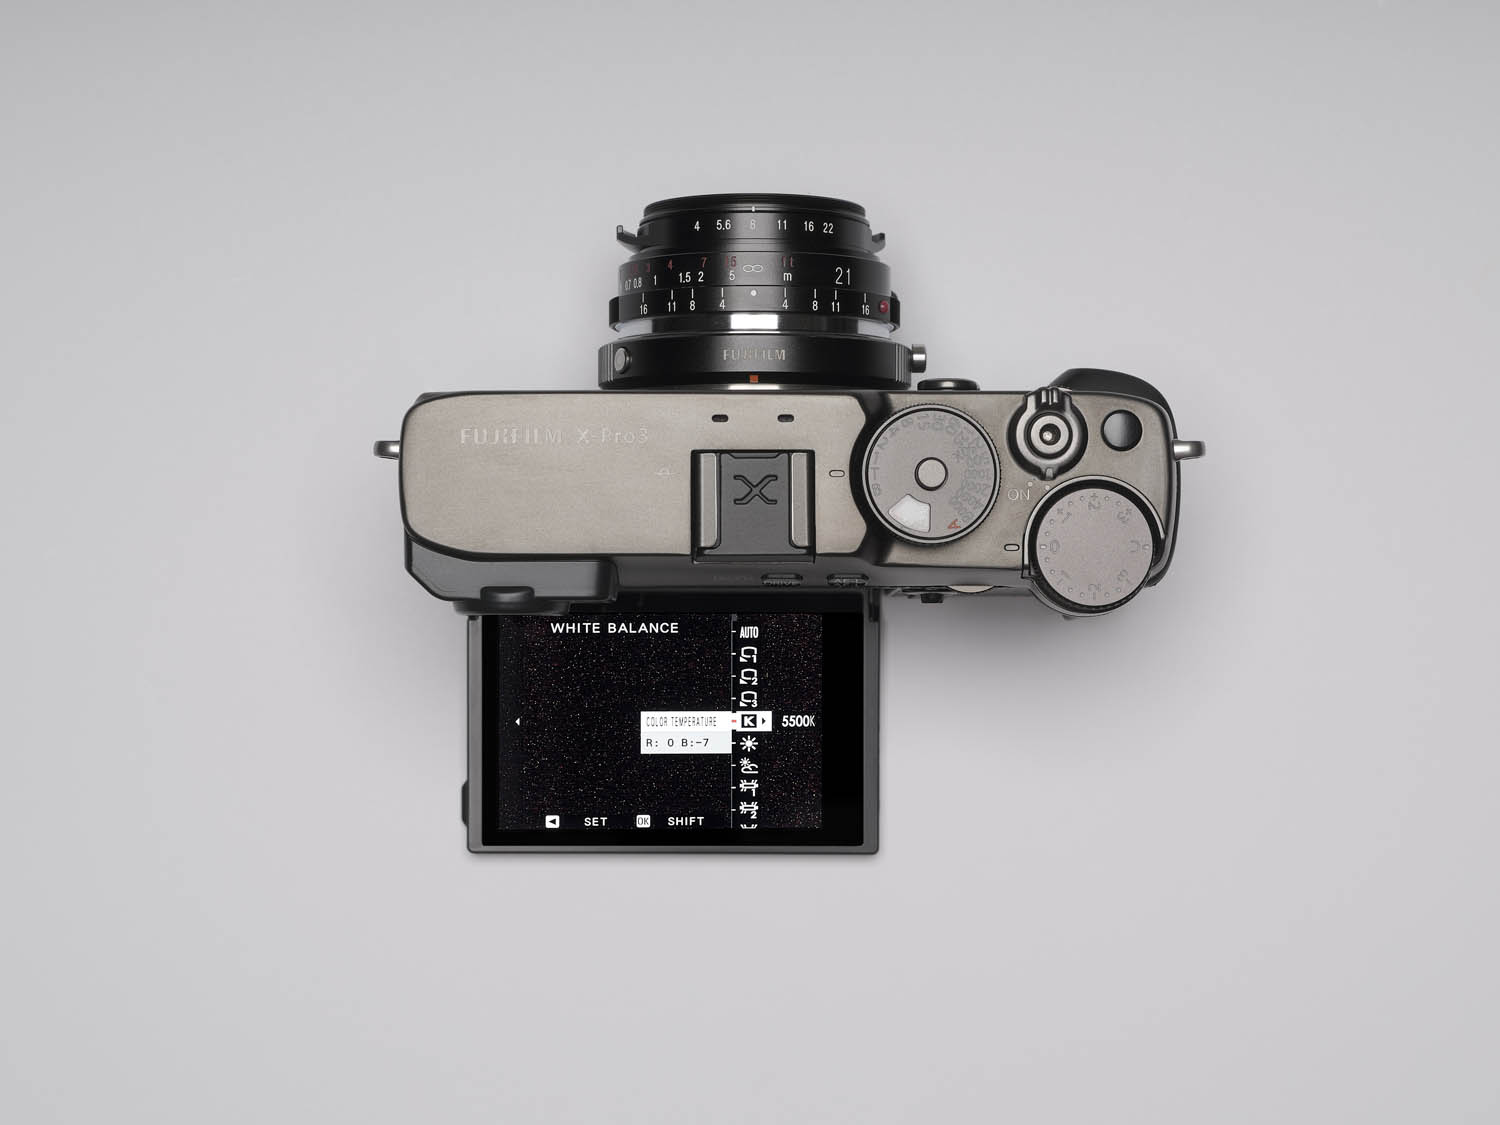
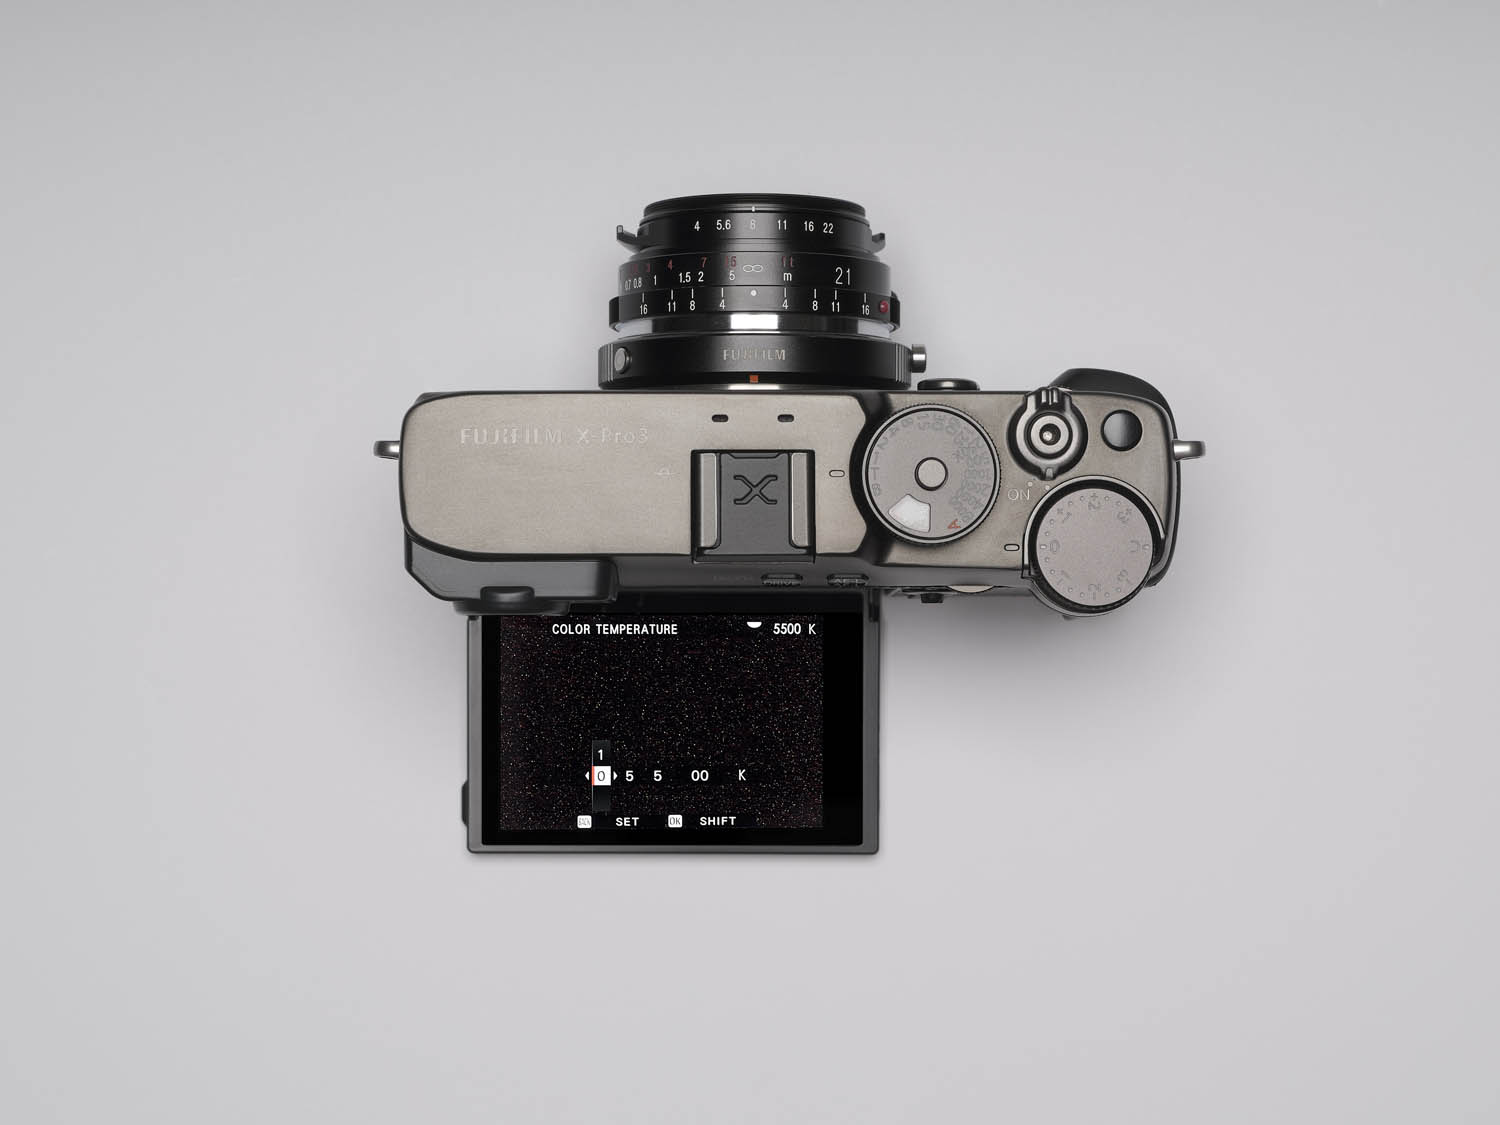
White Balance: By opening this setting, we can change the color temperature. For most of the custom profiles, we are going to set a specific number, in this case, 5500 Kelvin.
Remember that changing this number is going to tell the camera which kind of white balance is (already) present in the scene in front of us. For example, the Kelvin number for a cloudy sky is 6500 and the relative color cast is simplified in the picture below. If we are going to set this number, the camera is going to balance the image with a “warmed-up” result. Let’s set 5500 for the profile we are building.
One more setting I would like to explain a little more is the Dynamic Range.
When you change this setting, for example DR400, the camera is going to “electronically” increase the dynamic “power” of your camera. You are going to notice it more in the shadows than the highlights, for the nature of the electronic sensor. If you are going to change the Dynamic Range setting, you are going to have a minimum ISO to set when you shoot. For example, the minimum ISO to have DR400 is ISO640.

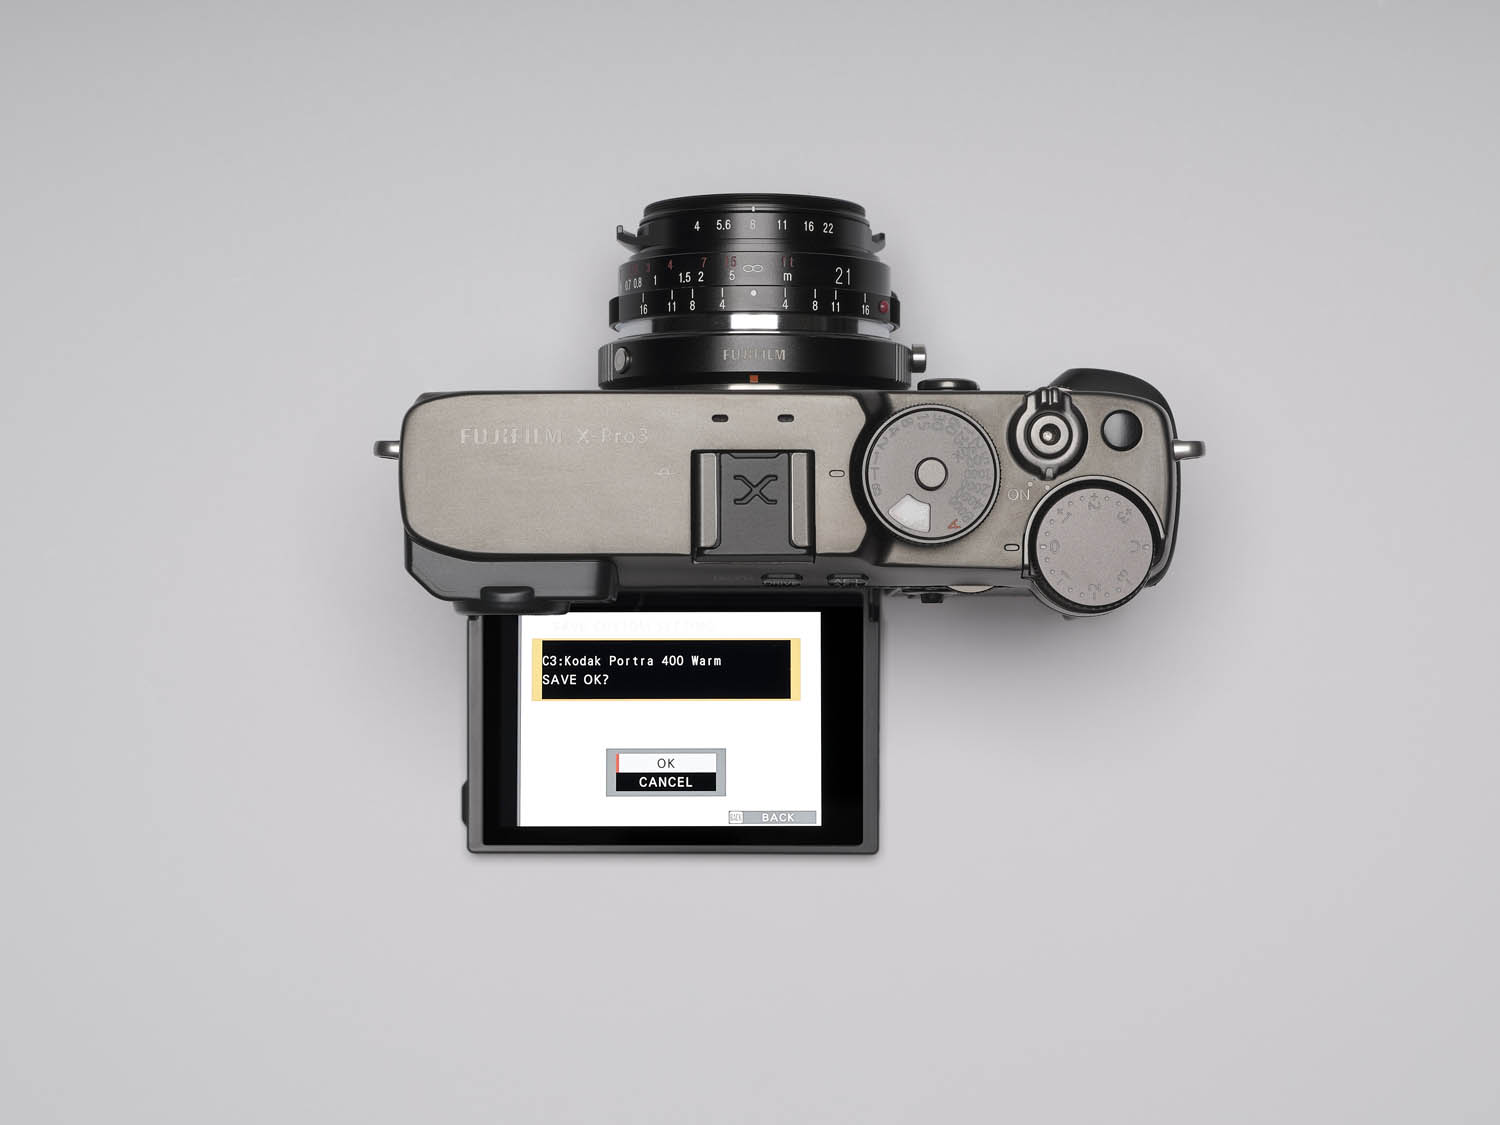
When you finish modifying the settings you need to build your profile, hit back to exit the customization pages. You will display this screen; hit ok and your custom profile is now saved in the slot you chose at the beginning. In my case it was C3.
In the next page, I’ll show you how quick and easy it is to change between profiles if you have more than one saved.
The following is just the way my camera is set and a little tip if you want to use it.
The picture below is the “Q” (quick) menu on my X-Pro3. Almost every Fujifilm camera has this (physical) Q button we can press. When you do it, this is the menu that shows up on the screen or in the electronic viewfinder (yes, even there; you don’t have to look at the screen if you don’t want). As you can see, if you highlight the first square (you can choose which settings to have in your Q menu) where it says C3 in the image below, that means you are using that saved custom profile to shoot. Just rotating the back wheel on your camera is going to flip between the 7 profiles.
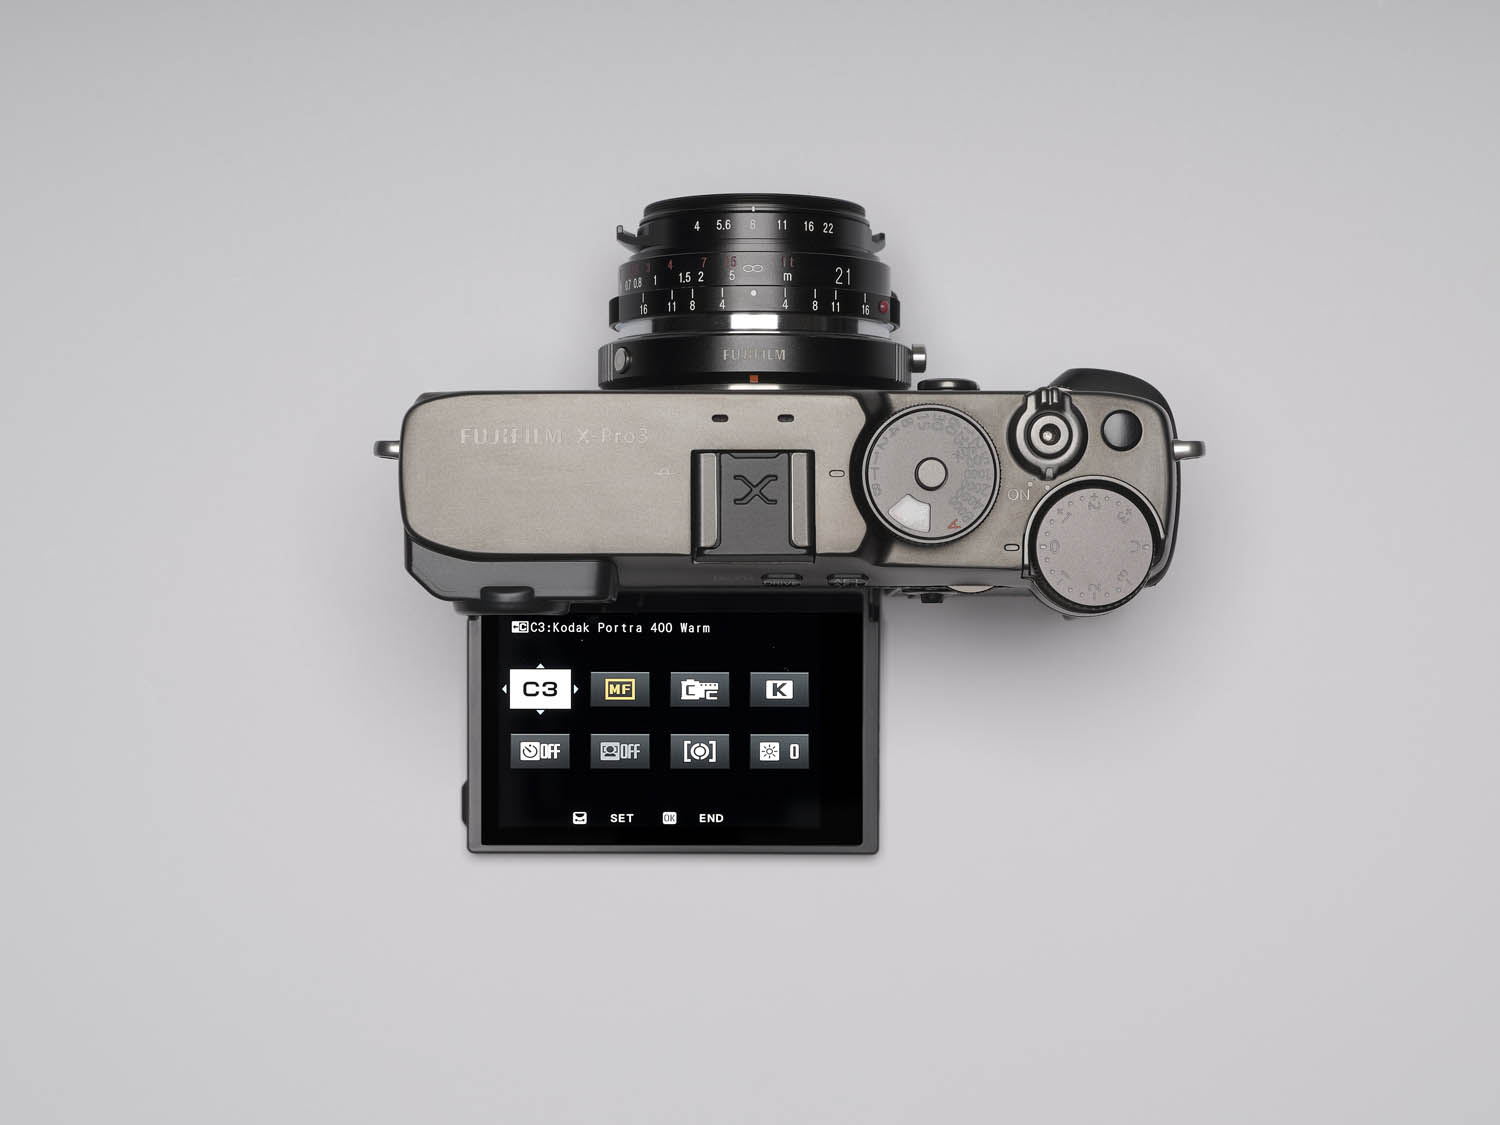
In my case, just pressing one button and rotating one wheel, I can change between my 7 custom profiles and pick the one I think best fits the scene in front of me. Color or black and white. Isn’t that amazing? I think it is. Look at the examples below.
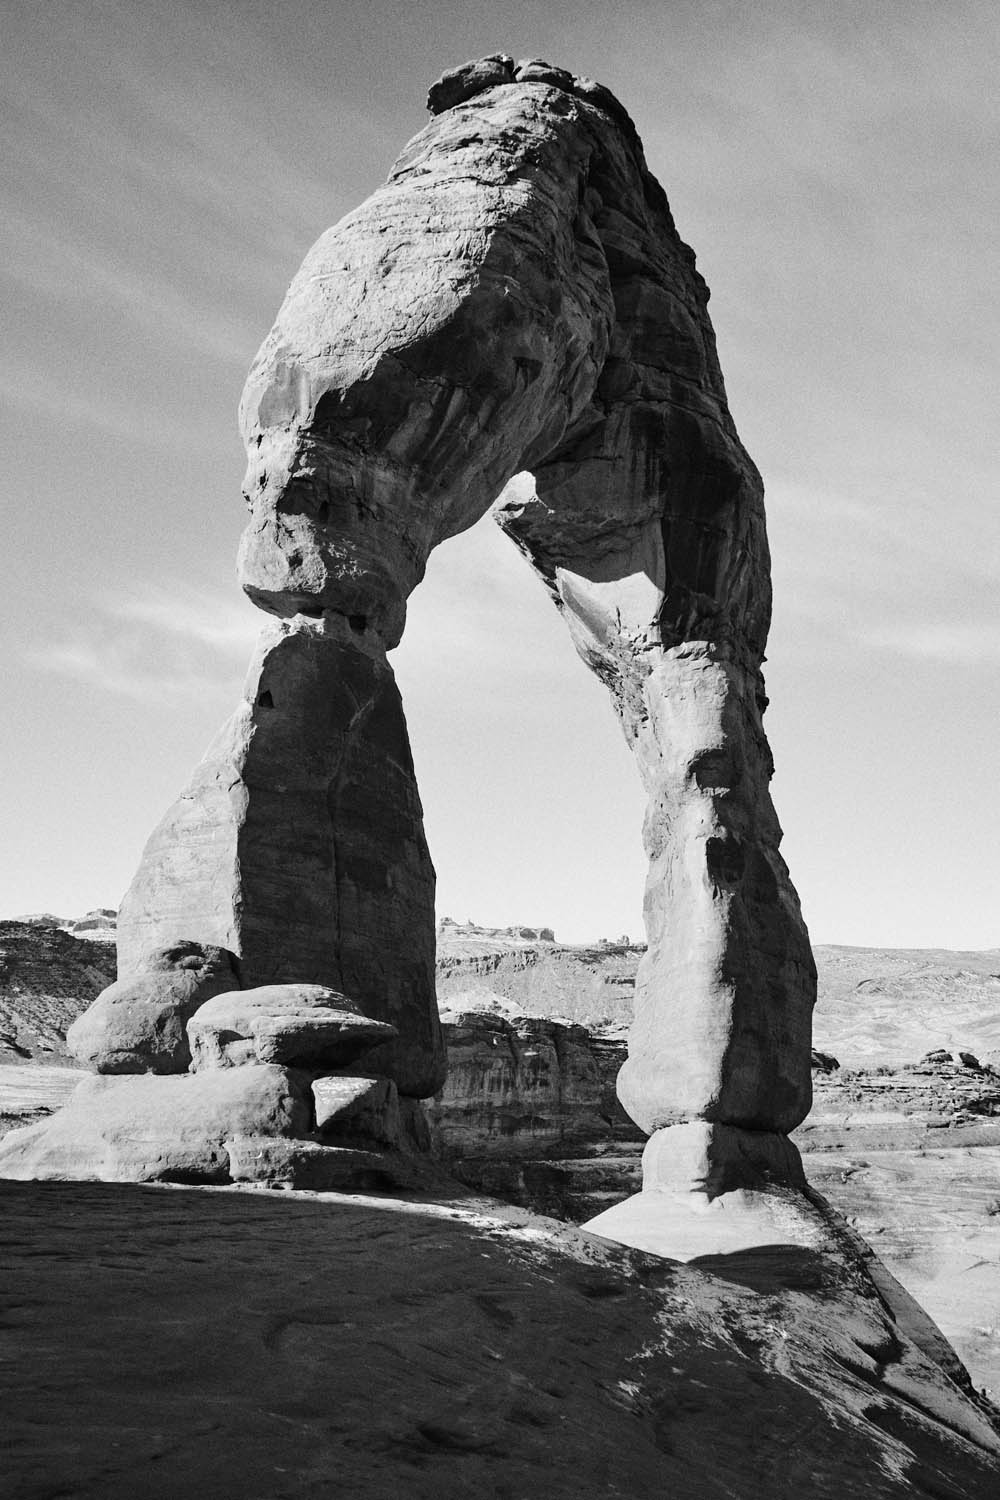
RIGHT: Ilford HP5 Plus 400 custom film profile – Digital
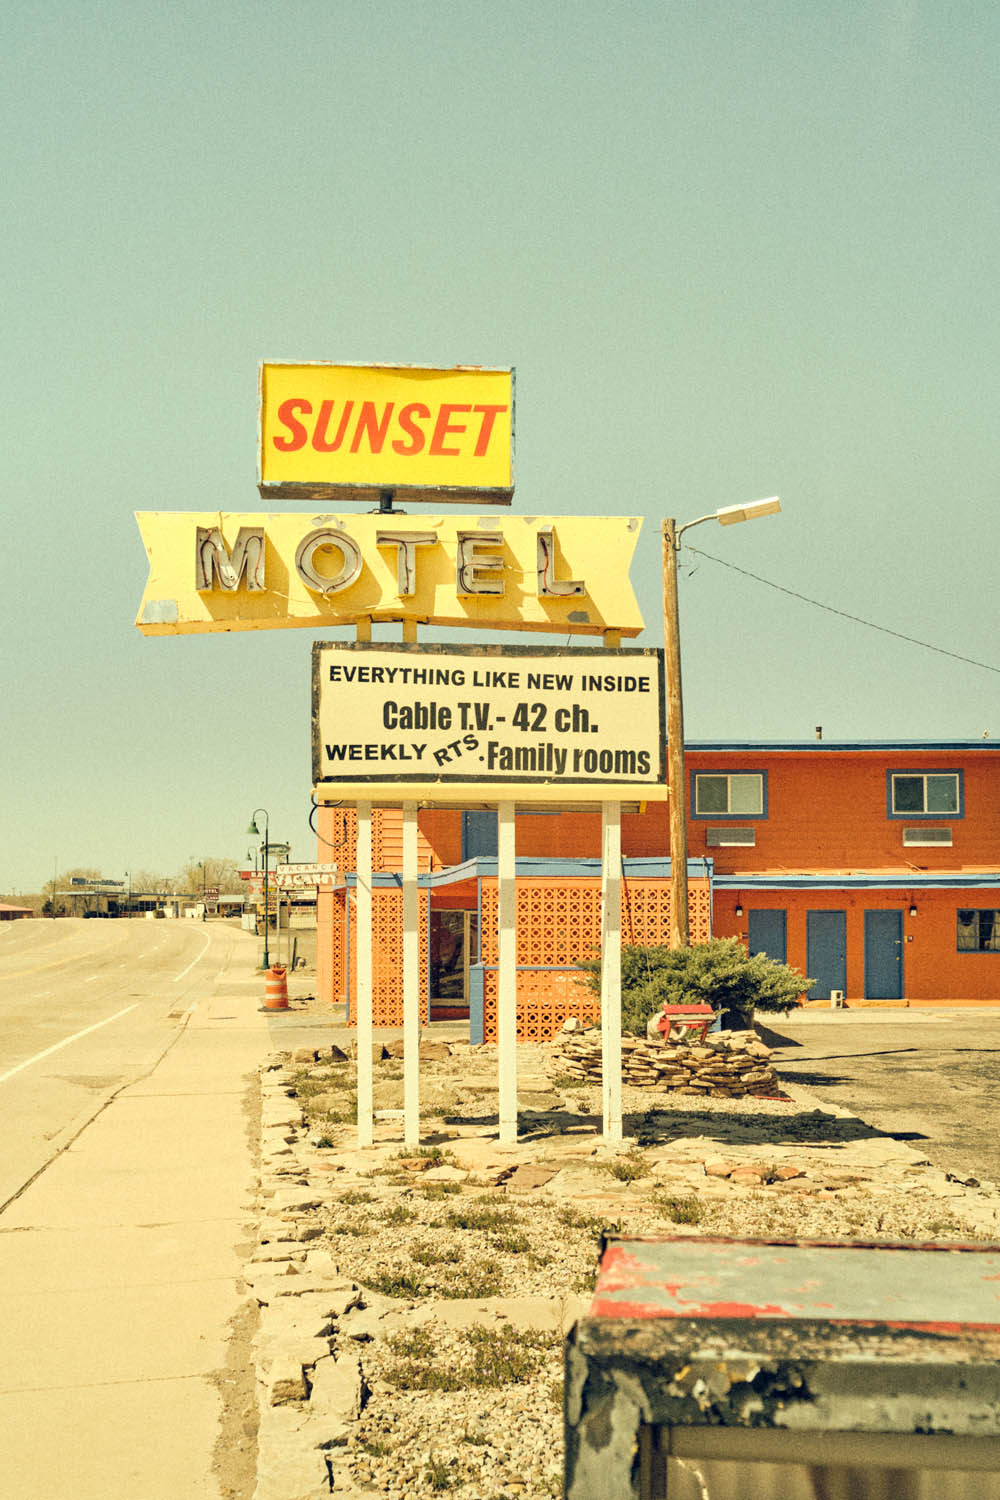
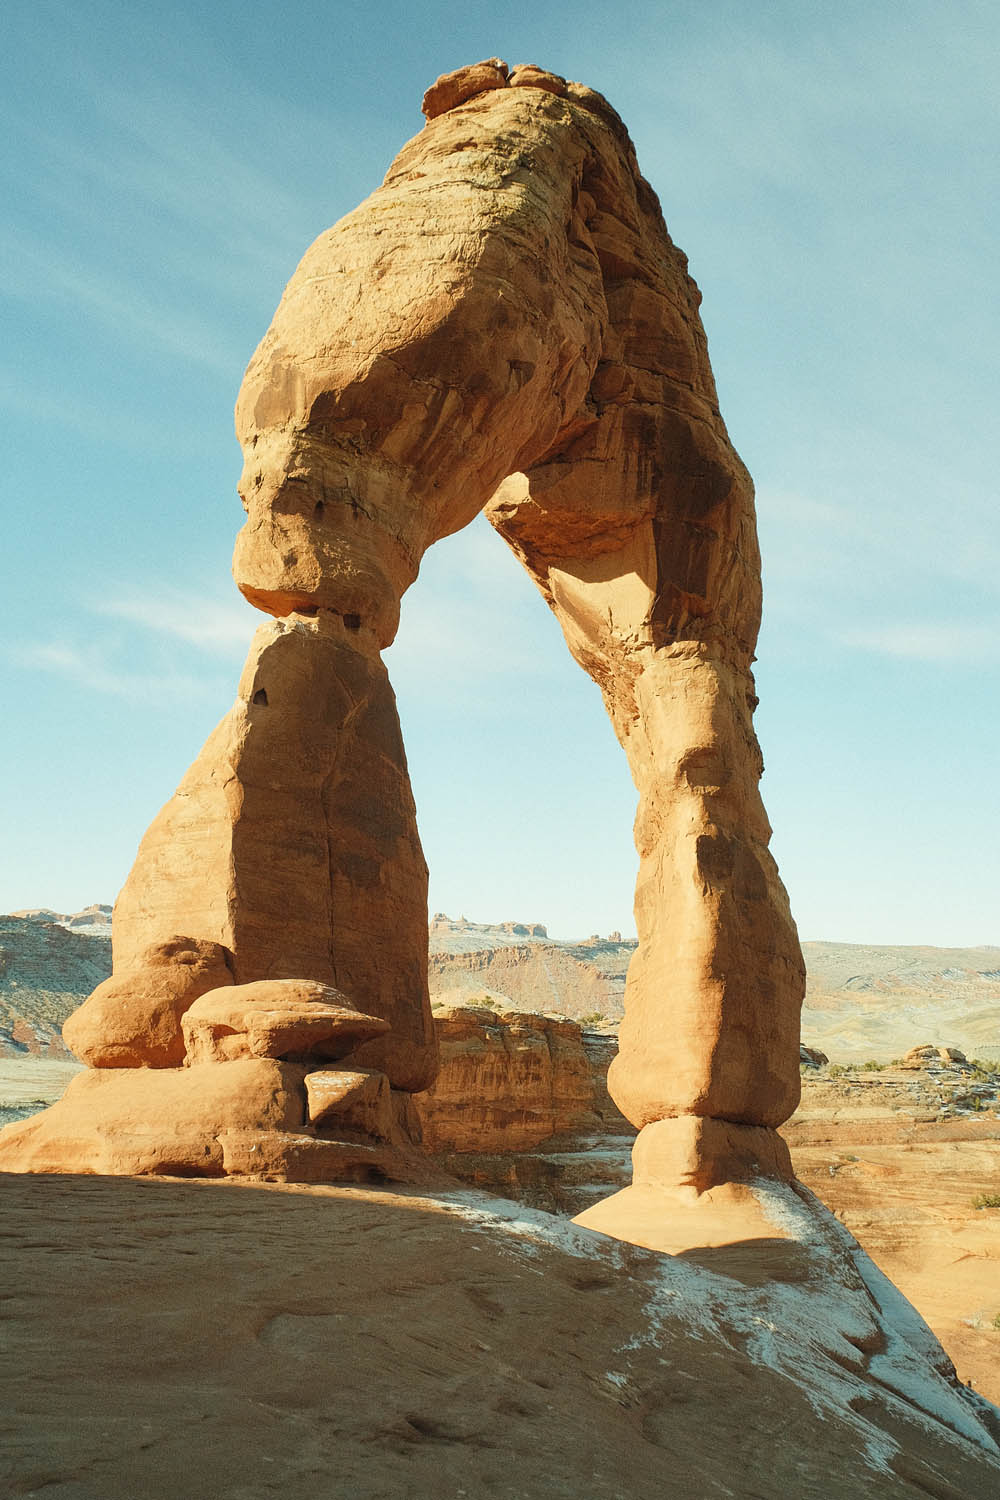
In the following examples, you can see some side-by-side between a real Kodak Portra 400 roll shot with a Nikon film camera and JPG images from my X-Pro3.
It is extremely important to say that, in my opinion, we should not make any comparisons at all. If you have read Part I of this article, you know that is not the reason why we are building and using Fujifilm custom film profiles.
The laboratory or scanner that processes the film has an effect on the final product as does the camera, lens, quality of film, light and conditions. Trying to replicate or match a film roll is really a nonsense thing we should avoid; the risk is to end up in a rabbit hole and waste considerable time. Conditions change all the time and will affect the results.
I greatly suggest trying to find a jpg Fujifilm custom profile you like (maybe three: two colors and one black and white for different situations) and sticking with it if you don’t want to spend too much time editing. Just enjoy the pure act of taking pictures!
IMAGES BELOW:
Left: Kodak Portra 400 Film
Right: Kodak Portra 400 Digital
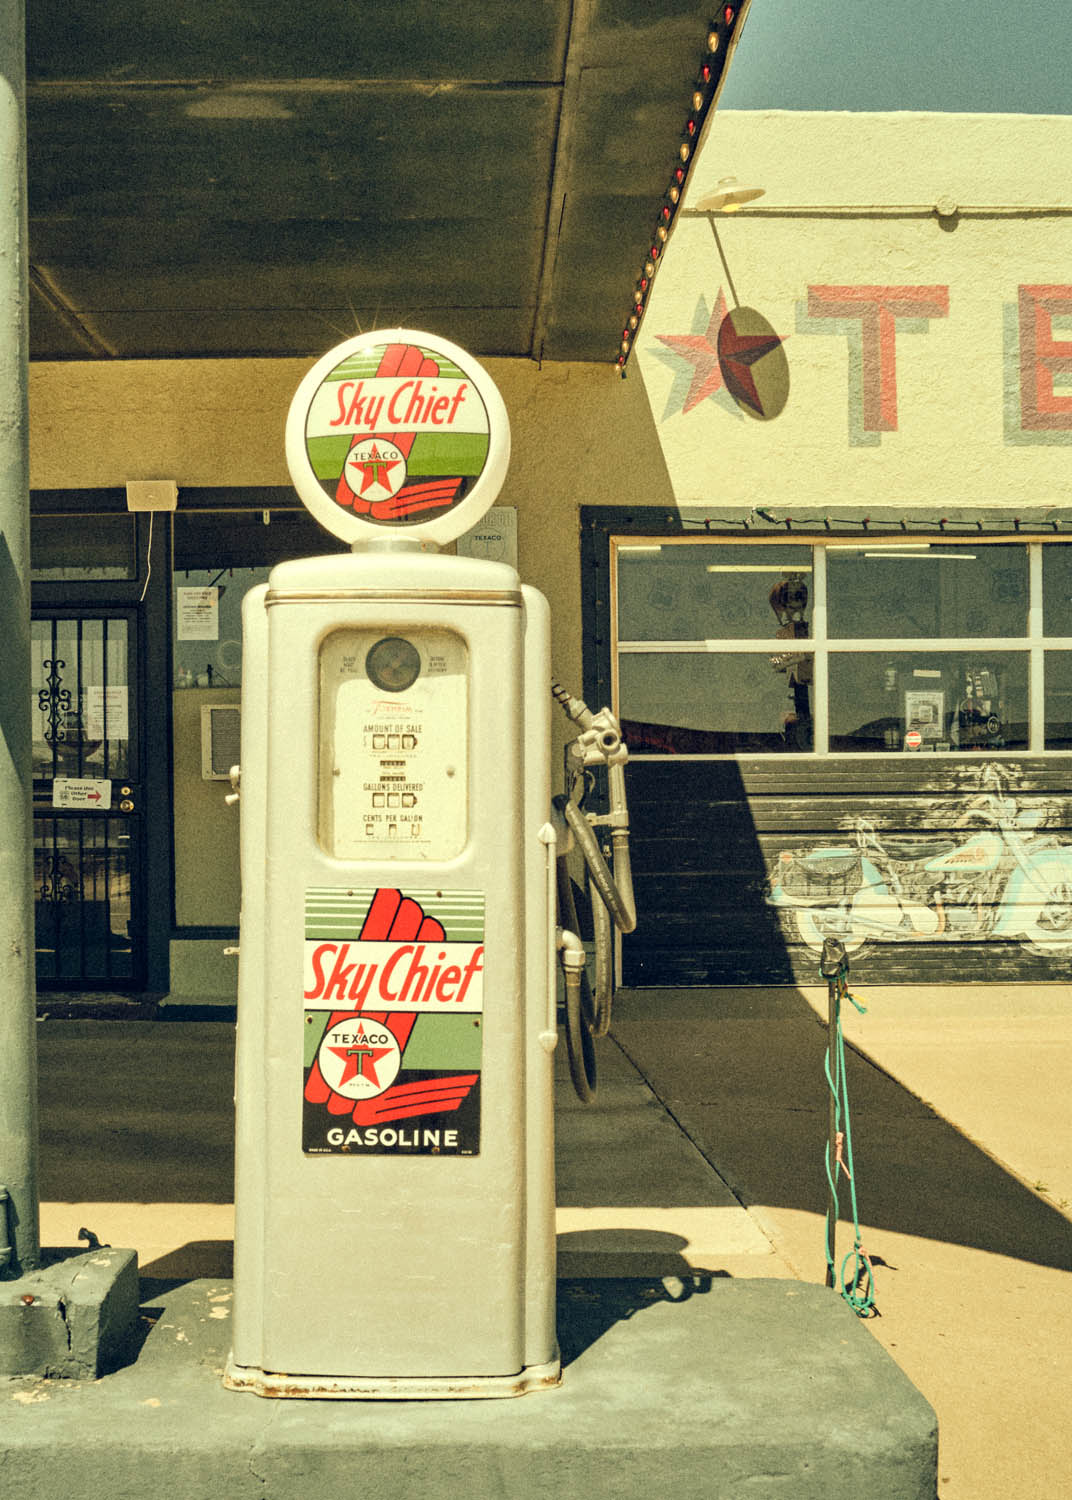
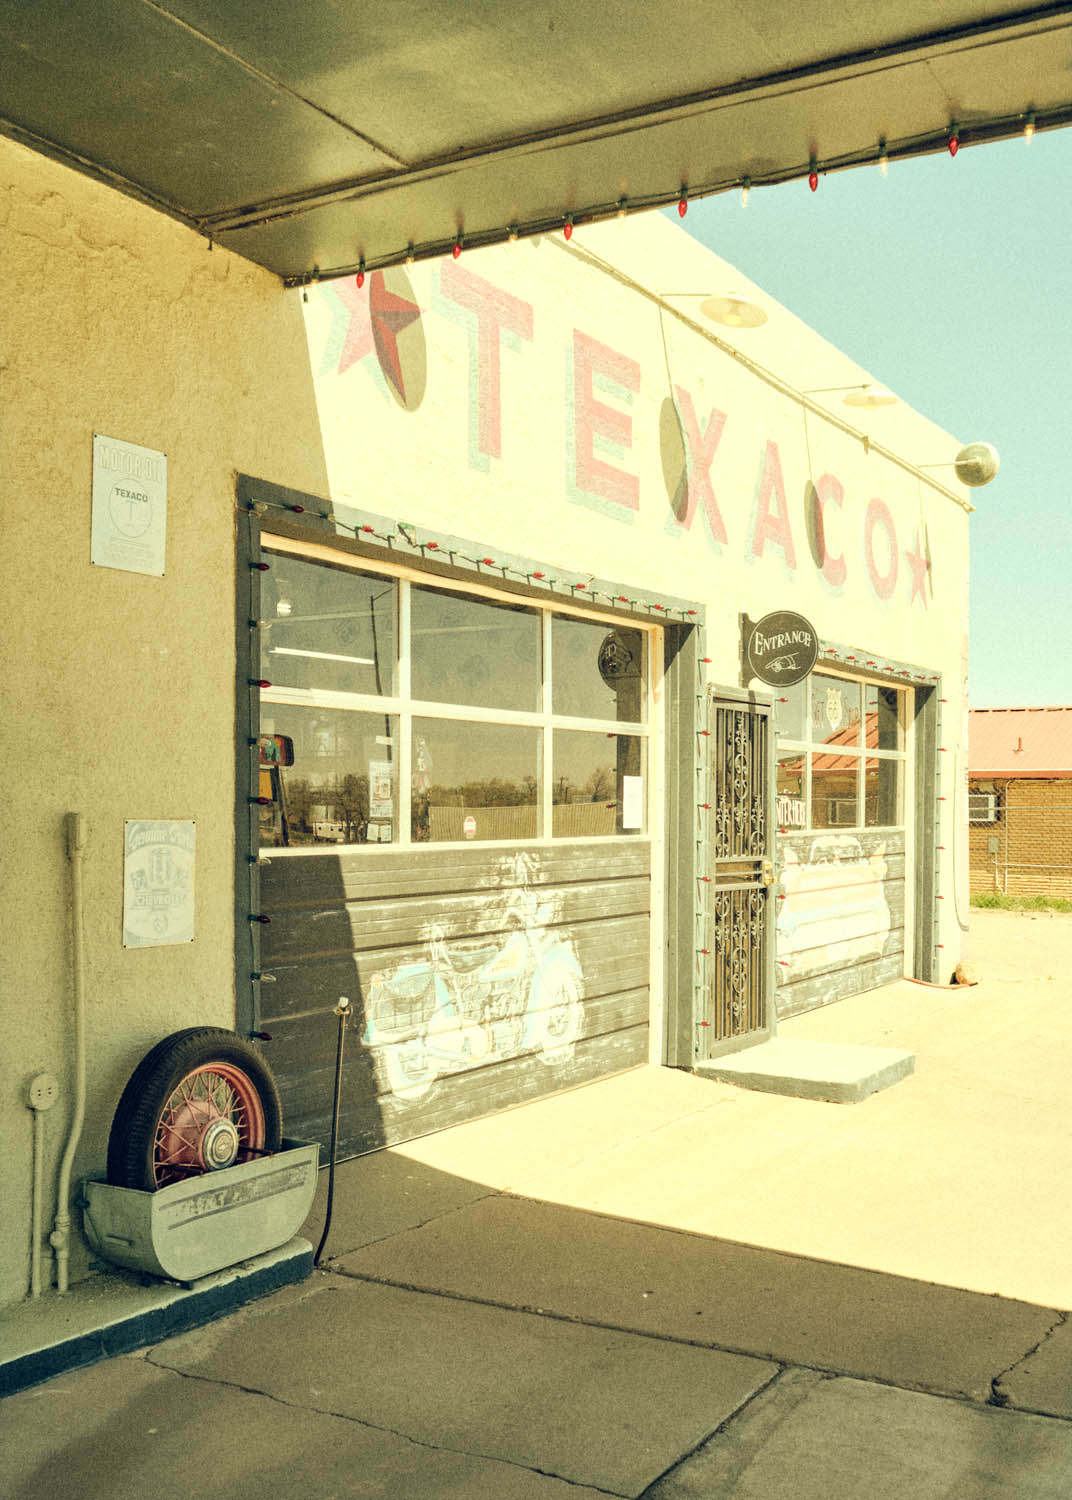
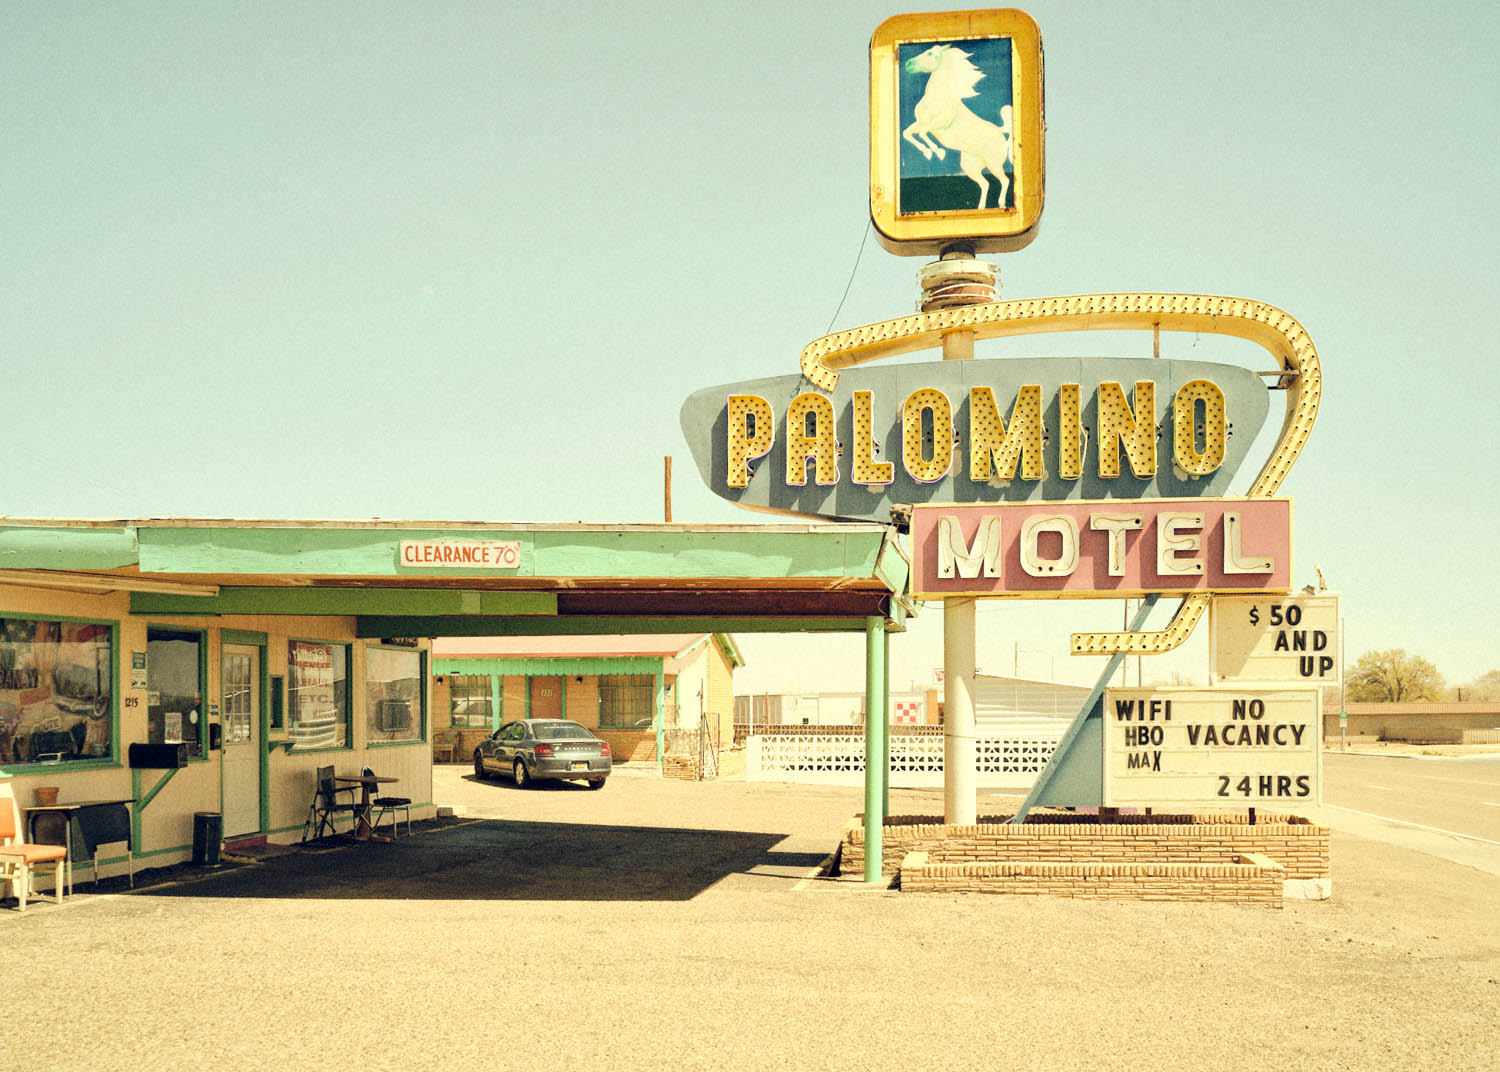
RIGHT: Fuji X-Pro3 . Voigtlander 21mmF4 . 1/400″ . ISO 640 – Route 66
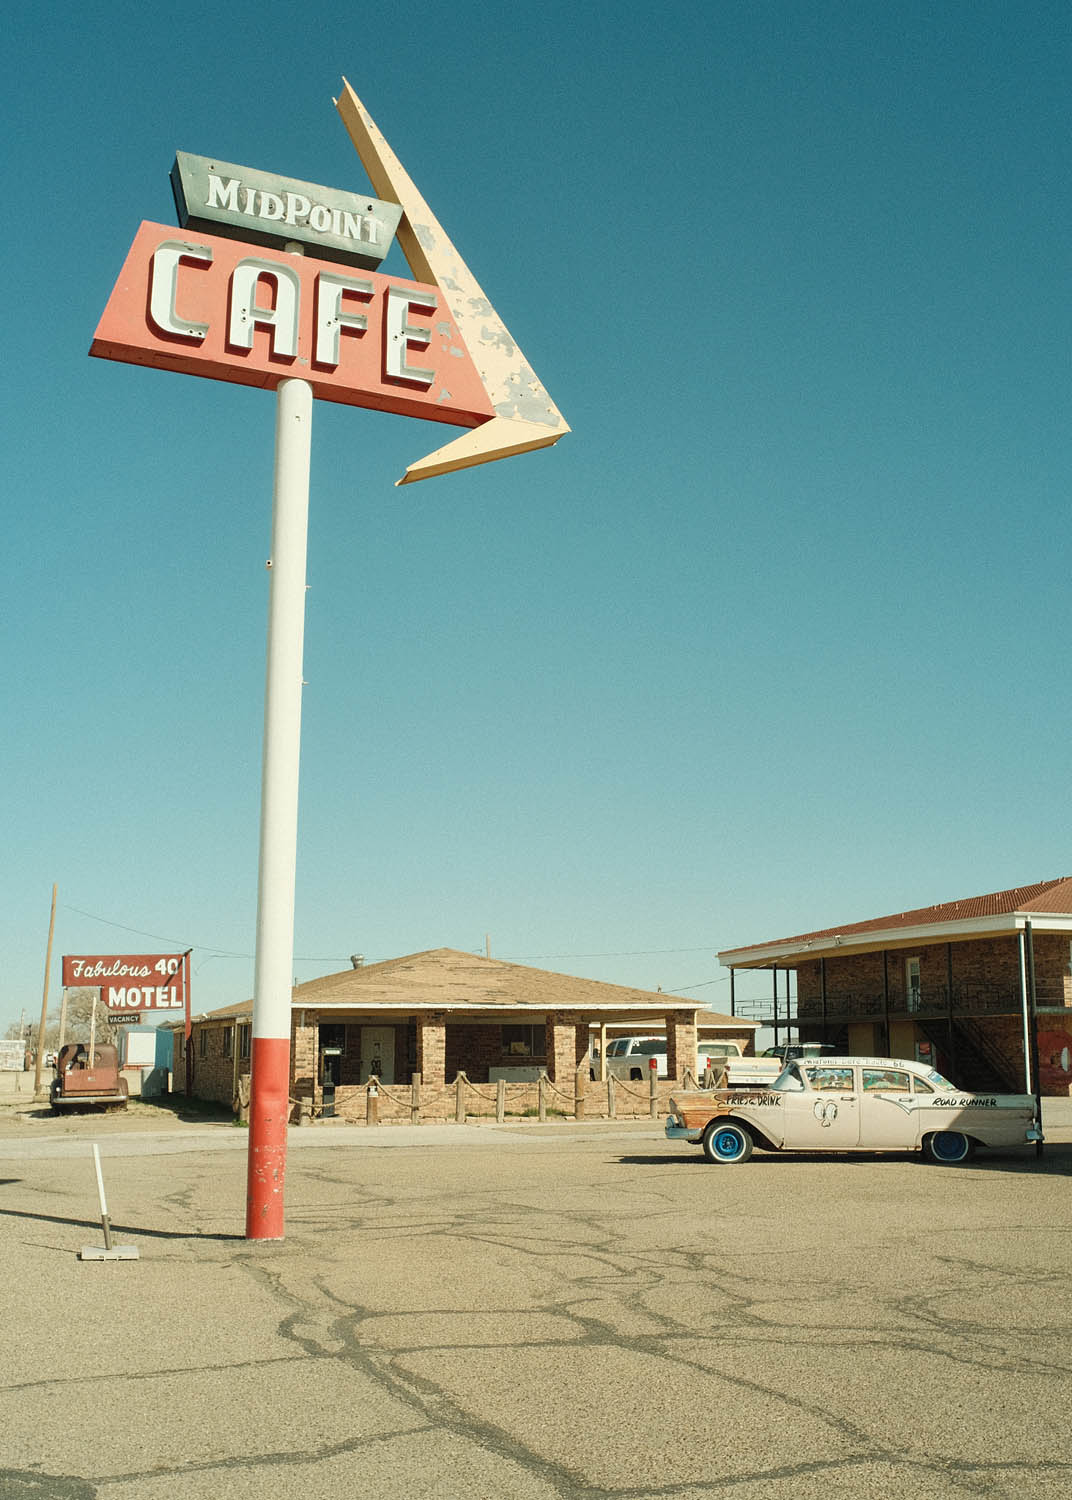
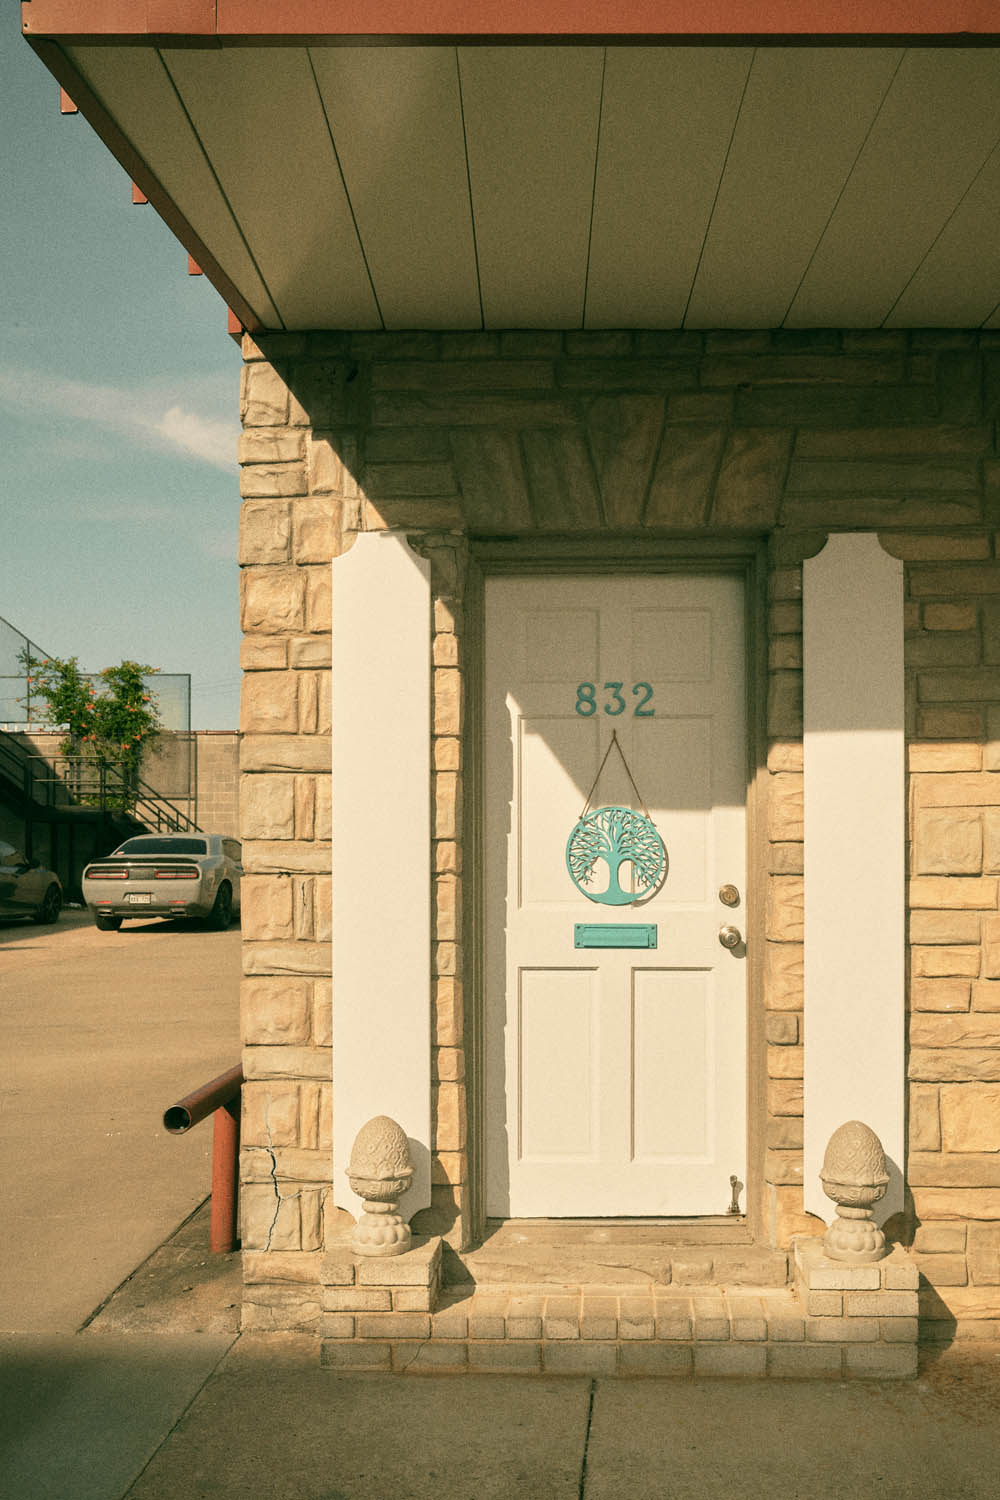
RIGHT: Fuji X100V . F/8 . 1/800″ . ISO 320 – Arkansas
“My name is Fabrizio, 41 years old Italian street and travel photographer. As a military pilot, I embraced the photography world, shooting exclusively with Fujifilm, empowering every day my passion. I love to capture unique moments forged by light and shadows, always willing to preserve memories, preserve moments.”


Simon Pepper
February 17, 2024 @ 5:30 am
Lovely stuff Fabrizio, thanks for sharing!.